Great eyeshadow is a skill, not a talent — and it starts simpler than you think.
If eyeshadow has always intimidated you, you're not alone. Most beginners assume gorgeous eyes require five brushes and a cut crease, when the truth is that the most-worn looks in real life use one or two shades and a single fluffy brush. Blending covers a multitude of sins.
The secret nobody tells beginners: technique matters more than products. A drugstore shadow applied with the right motion beats a luxury palette applied wrong. Every look below uses forgiving formulas, simple placement, and techniques that improve with every wear.
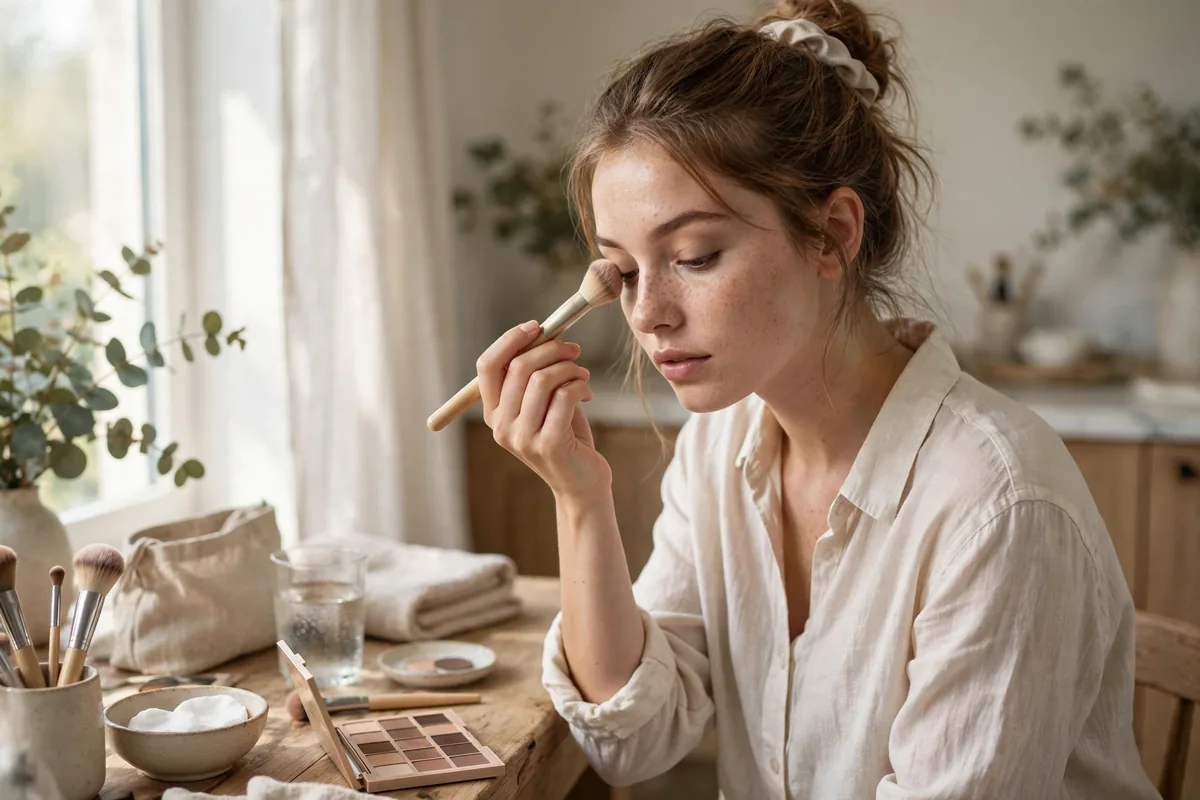
Grab one neutral palette, a fluffy brush, and a flat shader brush. That's your entire toolkit for all twenty looks. Let's start with the easiest eye look in existence and build from there.
One-Shadow Wash
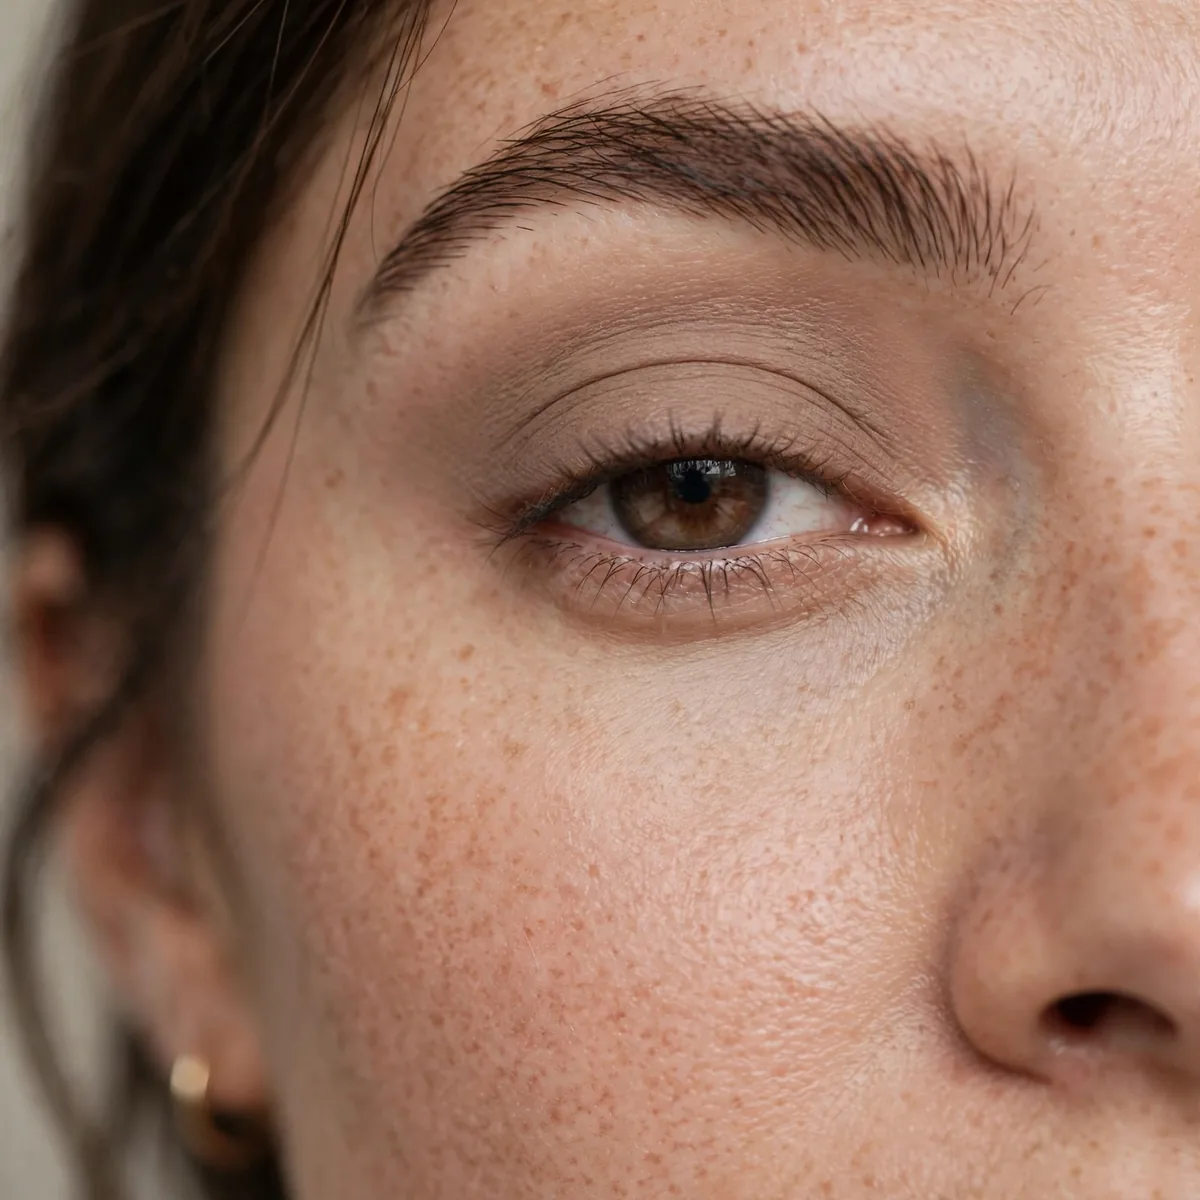
The one-shadow wash is the easiest eye look that exists: pick a single flattering shade, sweep it across the entire lid with a fluffy brush, and blend the edges until they disappear completely. No crease color, no inner-corner highlight, no liner required whatsoever. It takes ninety seconds and looks effortlessly polished, like you understand makeup without trying too hard, which is exactly the energy you want.
Choose a satin or soft-shimmer shade close to your skin tone but slightly deeper — taupe, warm beige, or soft bronze all work beautifully for this purpose. Load the brush, tap off the excess, and use windshield-wiper motions across the lid, then small circles at the edges to diffuse everything. The tapping-off step is what prevents harsh lines and patchiness, so never skip it.
This suits absolutely everyone, which is why it is the perfect first look for any beginner. It works for the office, school runs, video calls, and every low-key day in between without ever looking overdone. On mature lids, the single soft layer will not settle into lines the way heavy multi-shadow looks can, making it a lifelong staple.
Mascara is the only required partner — it defines the lashes and completes the eye so the look feels finished. A tinted moisturizer and cream blush keep the rest of the face equally effortless and fresh. Once this feels automatic after a week of wear, you are ready to add a second shade in the crease.
Soft Champagne Shimmer
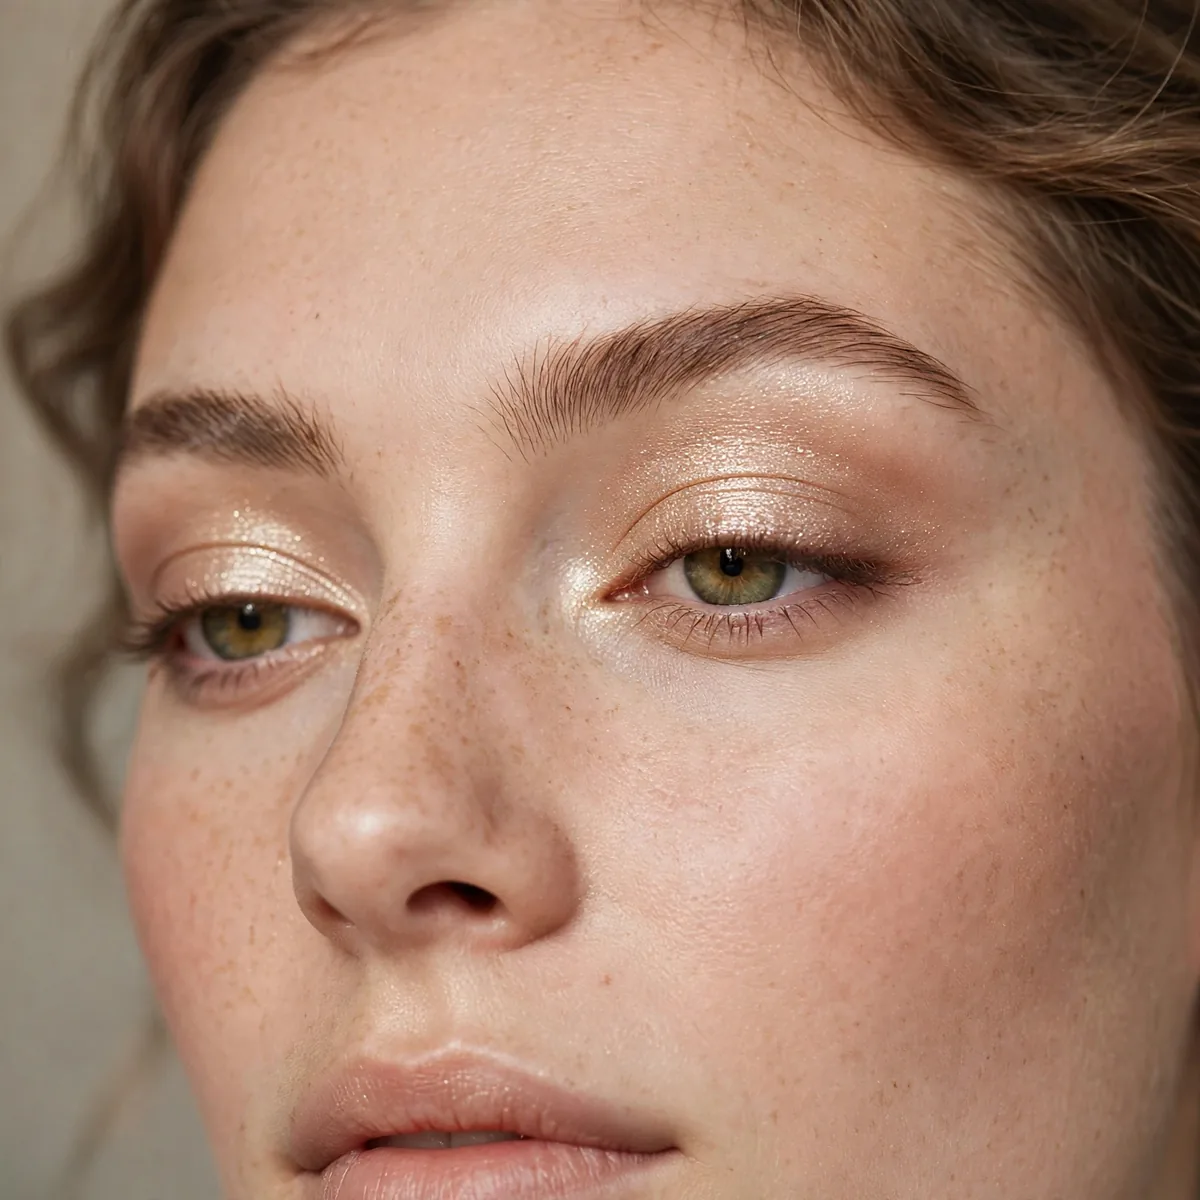
Champagne shimmer is the beginner's best friend: one luminous shade that brightens the entire eye area and makes you look awake with zero skill required. Pat it across the mobile lid with a flat brush or even your fingertip, blend the edges lightly, and the light-reflecting finish does all the work for you. It reads as polished in person and absolutely gorgeous on camera every time.
Fingertips actually apply shimmer better than brushes for beginners — the warmth of your finger presses the pigment in for maximum payoff and minimal fallout. Choose a champagne with a fine pearl finish rather than chunky glitter, which can look messy and uneven when unblended. Keep the shimmer on the mobile lid only, below the crease, for the cleanest and most flattering result.
This flatters every eye color and skin tone without exception; champagne is the rare universal shade that suits literally everyone. It is ideal for work, weddings as a guest, and any occasion where you want to look put-together without obvious makeup. On tired eyes, it is genuinely transformative — the brightness fakes eight hours of sleep convincingly.
Pair with groomed brows and one coat of mascara; heavy liner would overwhelm the delicate shimmer and ruin the effect. A peachy blush and nude lip keep the fresh aesthetic cohesive. If the shimmer creases by afternoon, a thin layer of primer underneath solves the problem completely and permanently. It takes seconds and transforms the whole face, which is why makeup artists never skip this step.
Taupe Transition Blend
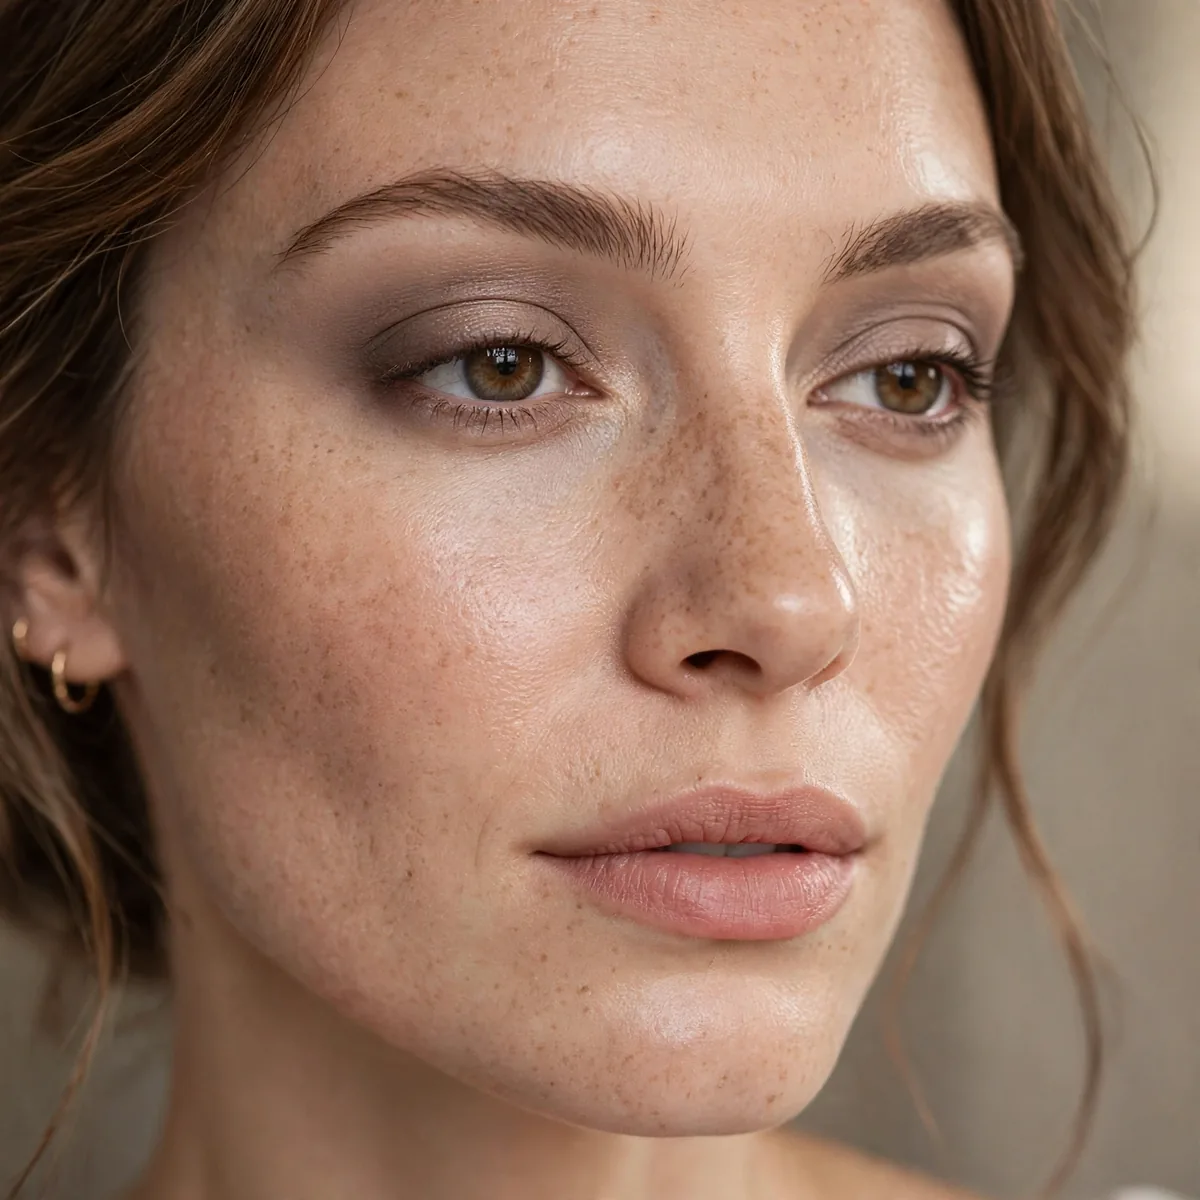
The taupe transition is the invisible architecture behind every good eye look — a matte taupe swept through the crease that adds dimension without any visible color. It defines the eye socket the way contour defines cheekbones, creating depth that reads as naturally beautiful eyes rather than obvious makeup. Every beginner should learn this fundamental technique before attempting anything else more complex.
Use a clean fluffy brush and a taupe one or two shades deeper than your skin tone for the most natural effect. With your eye open and relaxed, sweep the color back and forth through the crease like a windshield wiper, then blend in tiny circles to erase any edges. The goal is a soft shadow with no detectable edge — if you can see where it starts, keep blending patiently.
This suits all eye shapes without exception, and it is especially valuable for hooded eyes, where the transition shade creates the illusion of depth above the fold. It works for every occasion and every age group imaginable. Once mastered, this single technique upgrades every other look on this list noticeably.
Wear it alone with mascara for the most natural defined eye imaginable, or layer any shimmer from this list on the lid over it for extra polish. Keep the rest of the face simple — the beauty here is in the subtlety. A brown mascara softens the effect further for daytime wear.
Matte Nude Definition
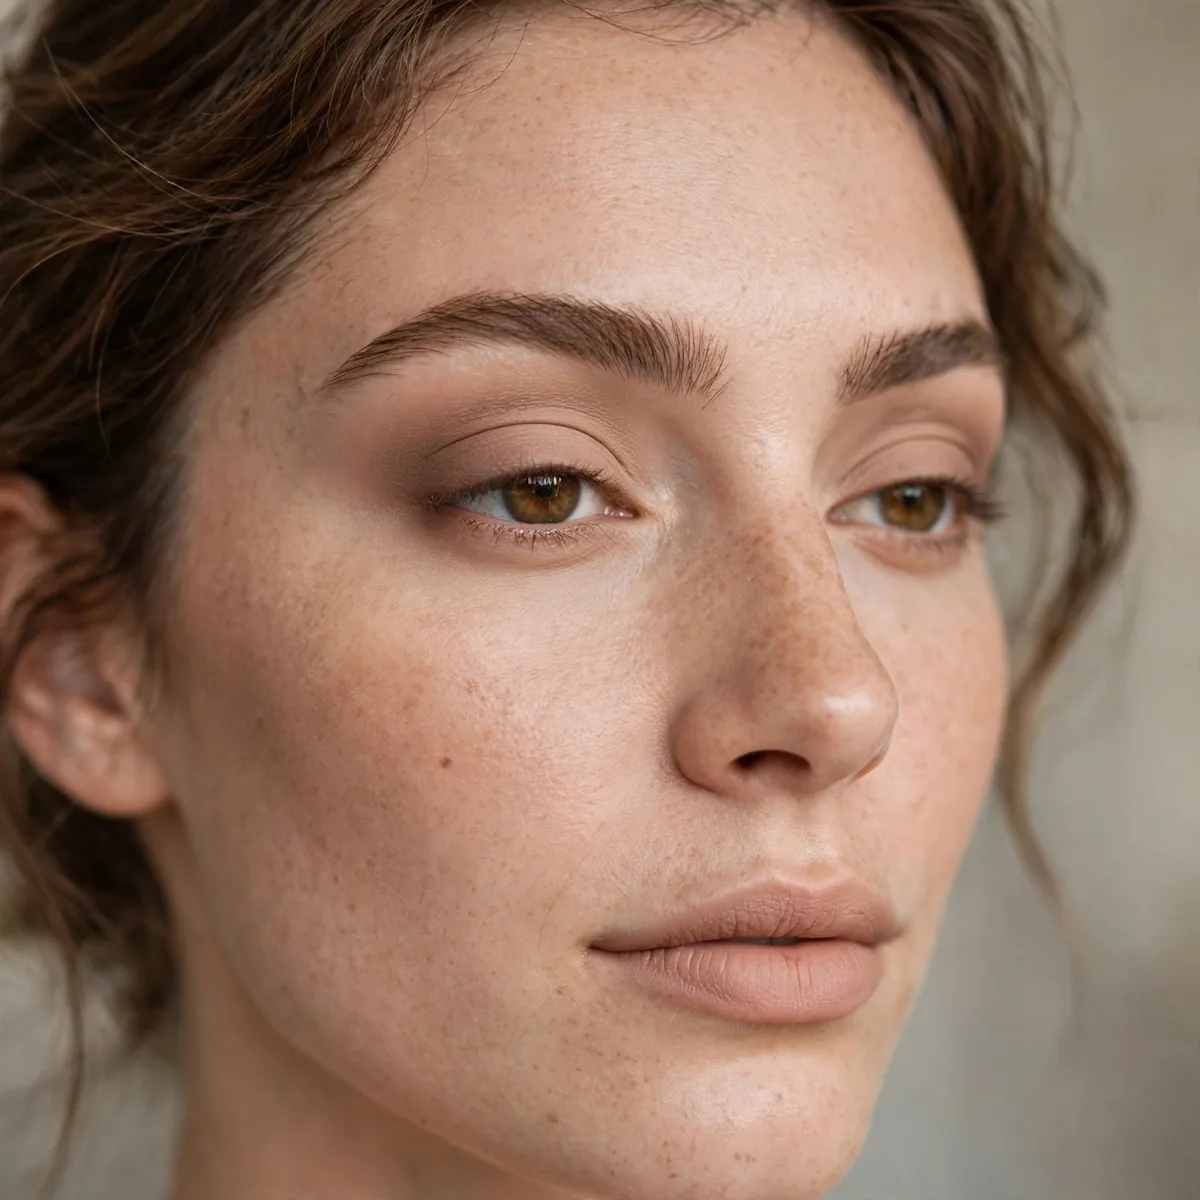
Matte nude definition is the no-makeup-makeup of eyeshadow: skin-toned mattes that even out the lid and add the subtlest structure imaginable. Sweep a matte shade matching your skin across the lid, then a slightly deeper matte through the crease for gentle dimension. The result looks like your lids, only better — even, smooth, and quietly defined in the most natural way.
Mattes show blending mistakes more than shimmers do, so the technique matters here: build in thin layers rather than packing on color all at once. Two sheer layers blend seamlessly where one heavy layer goes patchy and obvious. Choose mattes with a silky, finely-milled texture — chalky drugstore mattes are the main reason beginners struggle with this look.
This is perfect for professional settings, minimal-makeup lovers, and mature eyes that prefer shine-free formulas. It suits every skin tone as long as the nude is matched correctly — too light looks ashy, too dark looks bruised. Always test the shade on your lid, not your hand, for an accurate match.
Pair with a natural brow, light mascara, and a my-lips-but-better lipstick for the complete effect. The whole face should whisper rather than shout. This look also makes the perfect base for adding a shimmer lid later when you are feeling braver. Once you master this quiet base, every bolder look you attempt later will apply more smoothly and last longer.
Gold Lid Pop
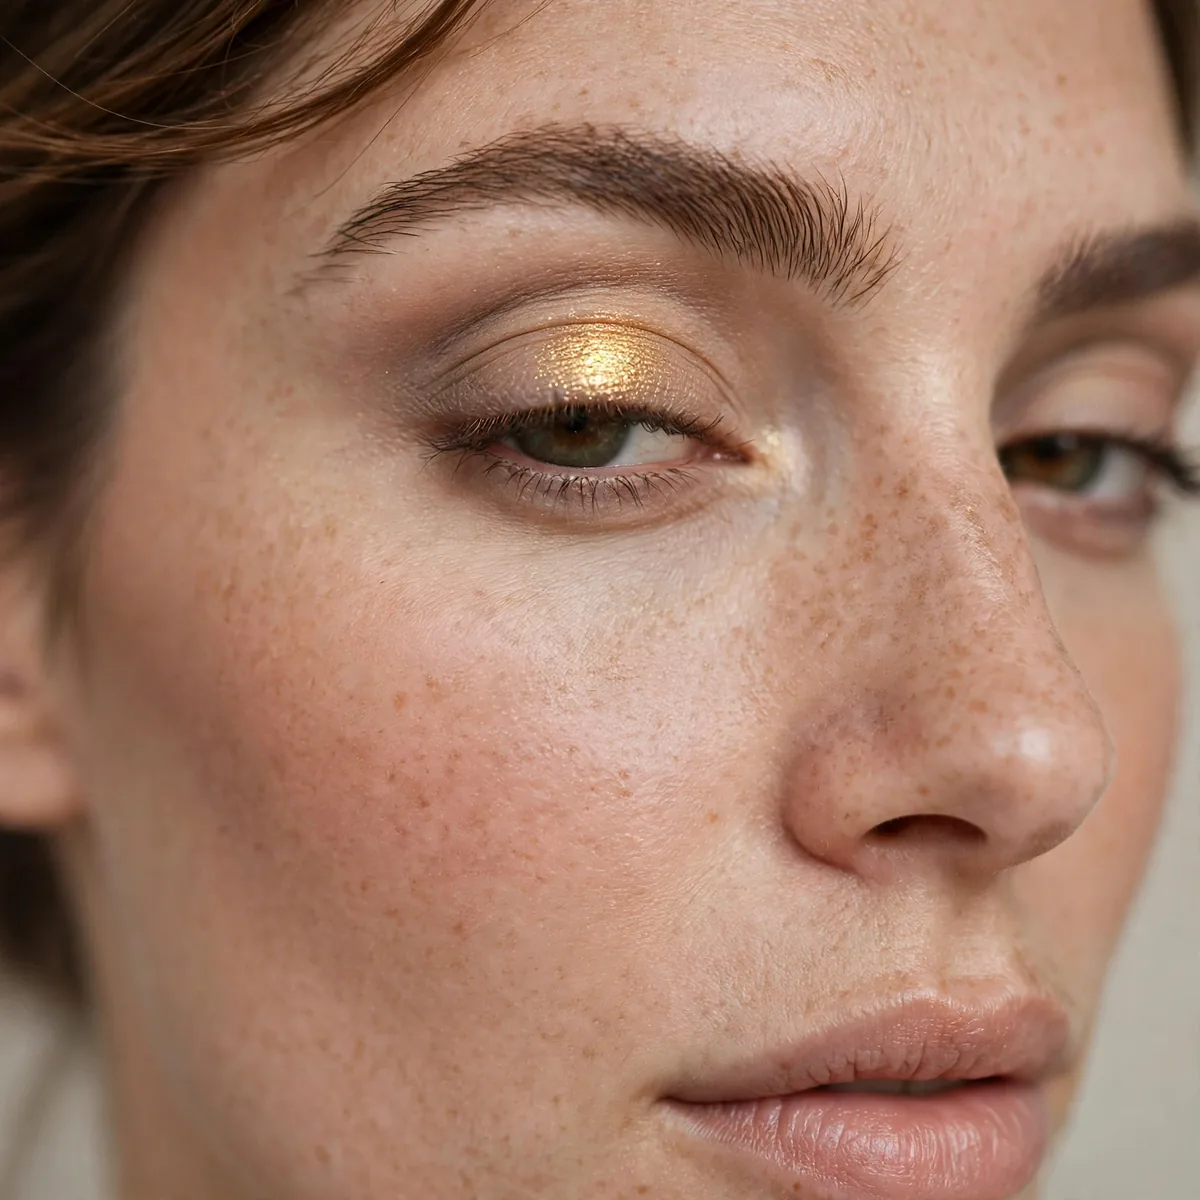
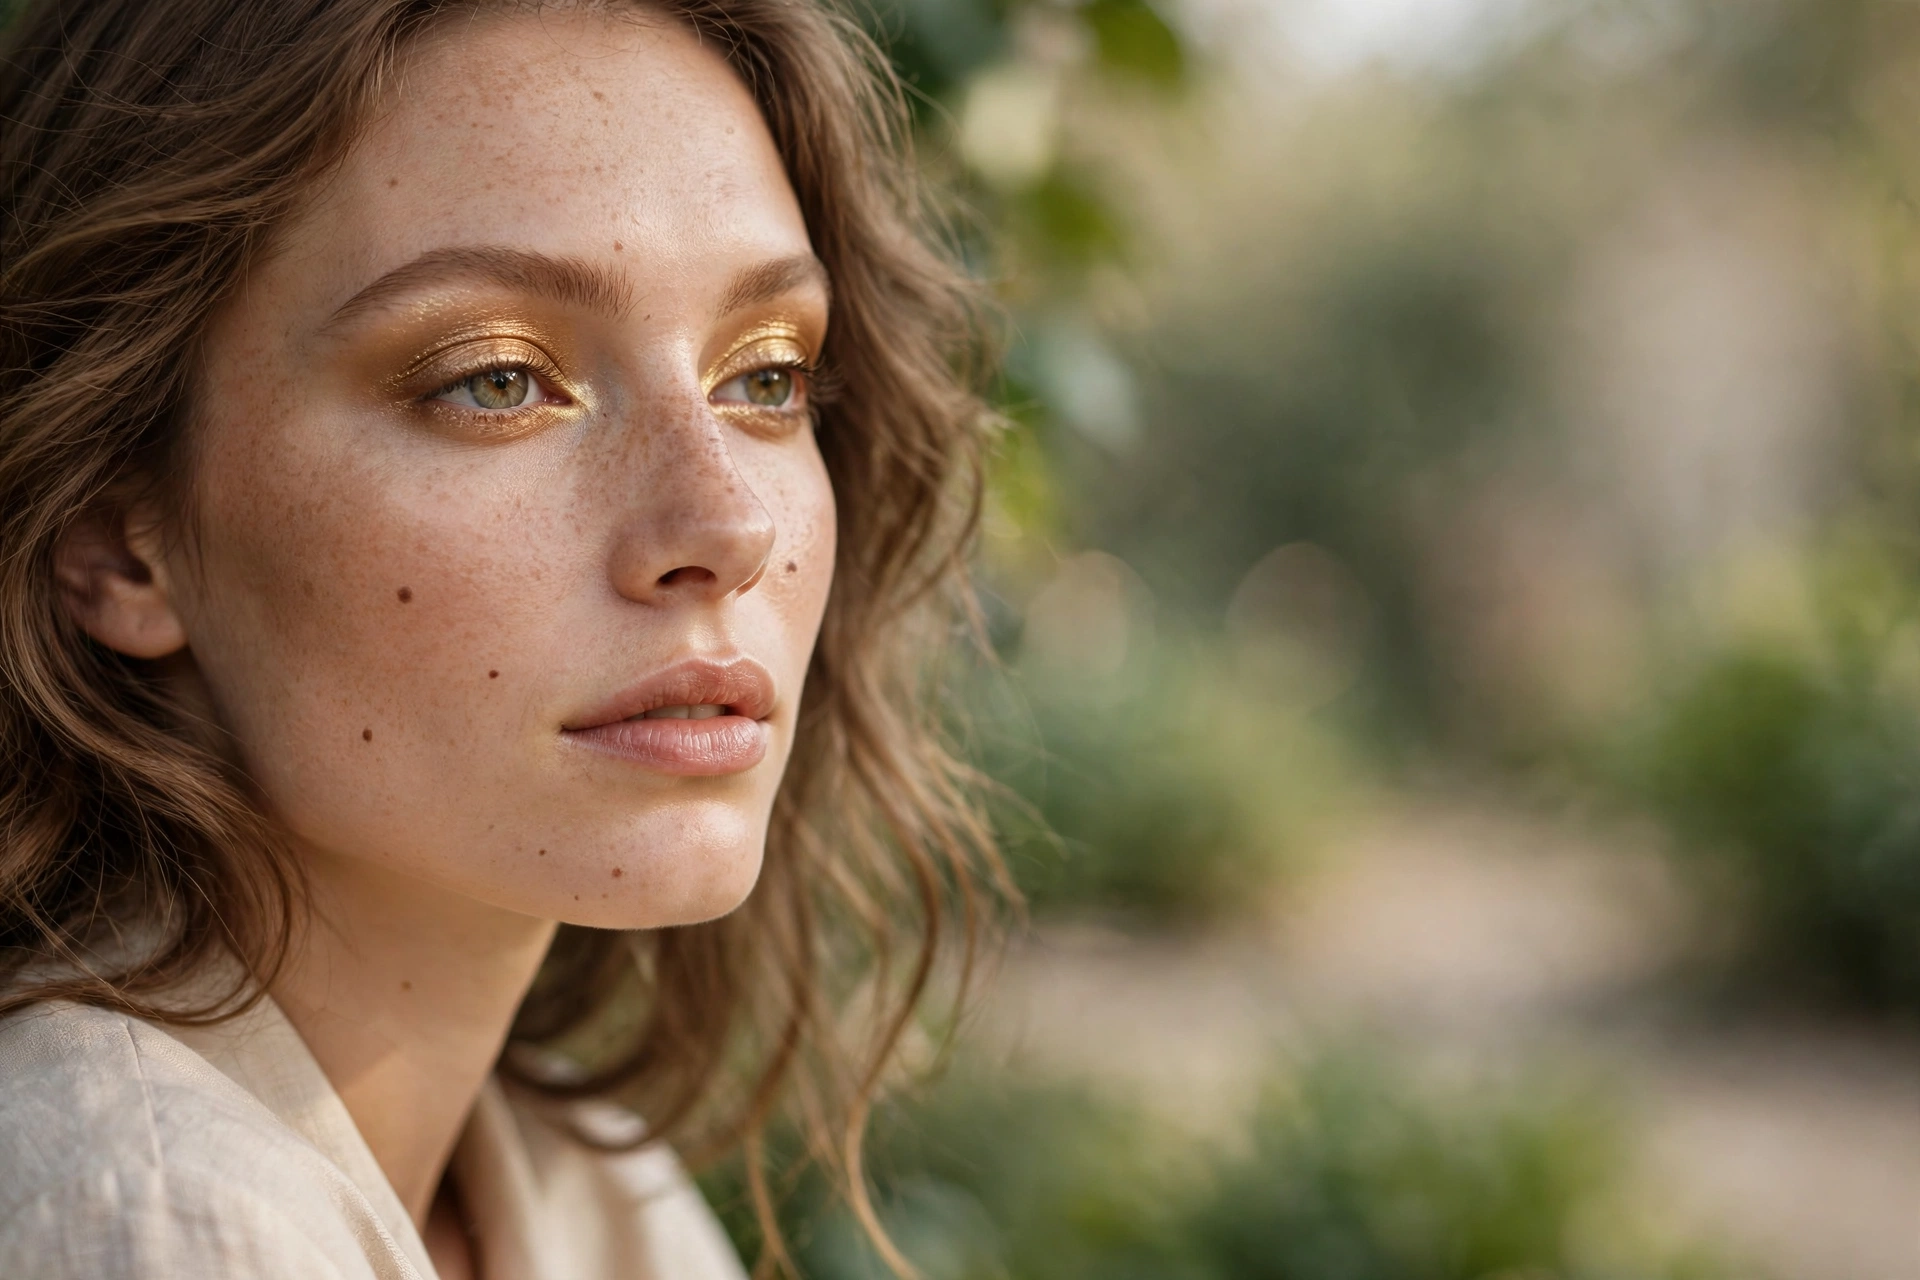
The gold lid pop adds instant glamour to any neutral base: do your simple taupe crease, then press gold shimmer onto the center of the lid. The bright metallic center catches light every time you blink, creating dimension and festivity with just one extra step. It looks far more skilled than it actually is, which makes it a perfect beginner party trick.
Placement is everything with this look — the gold goes on the center of the mobile lid only, not the inner corner or the outer third. Use a flat brush or fingertip to press, not sweep, so the pigment stays concentrated exactly where you want it. The contrast between the matte crease and the metallic center is what creates the expensive-looking dimension.
This flatters warm and neutral skin tones most beautifully, and makes brown eyes glow amber in the most flattering way. It is ideal for date nights, holiday parties, and any evening where you want a little extra polish. On deeper skin tones, choose a rich antique gold rather than pale yellow-gold for the most flattering and harmonious effect.
Keep liner minimal — the gold is the star of this look and does not need competition. A nude lip and warm blush complete the golden aesthetic cohesively. Because metallic centers can fade through the evening, press the gold over a sticky primer or a dab of concealer for all-night intensity.
Bronze Smudge
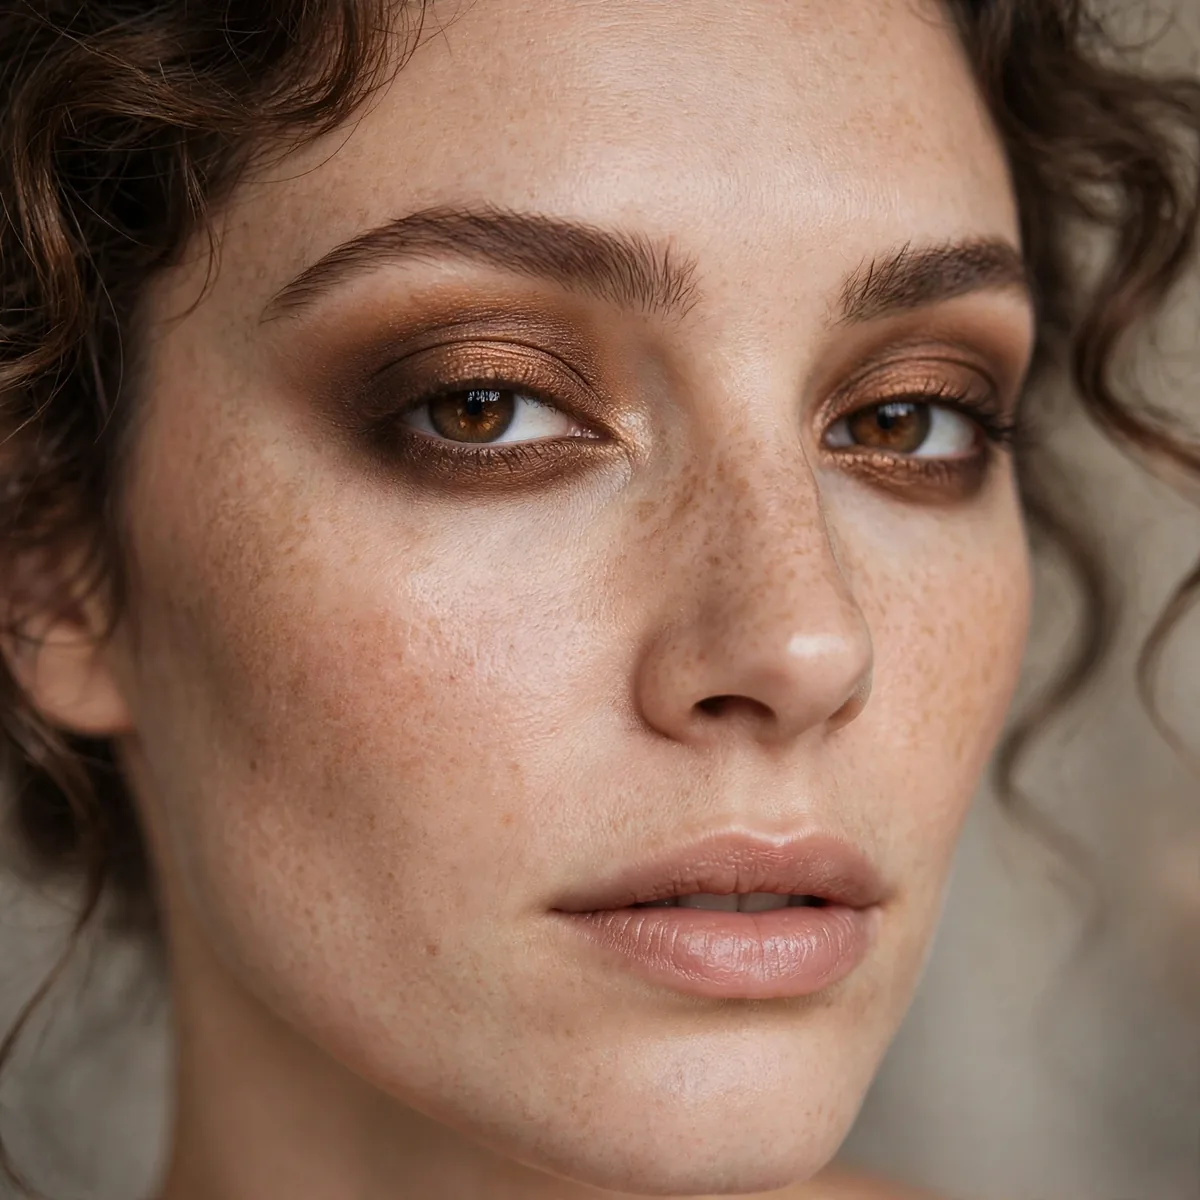
The bronze smudge is eyeliner for people who hate eyeliner: bronze shadow smudged along the upper lash line with a small pencil brush creates soft definition without any precise line whatsoever. It defines the eyes, makes lashes look thicker, and forgives wobbly hands completely. Smudging is the technique here, so perfection is literally not the goal — messiness is the method.
Load a small smudge brush with bronze shadow, stamp it along the lash line, then wiggle the brush back and forth to blur everything together. The messier the better, within reason — you are aiming for a soft halo of color hugging the lashes. Tightlining the upper waterline with brown pencil underneath amplifies the lash-thickening effect dramatically.
This suits everyone, especially beginners who find liquid liner absolutely terrifying. It works for day and night, and it is particularly flattering on blue and green eyes — bronze is complementary to both. On small eyes, keep the smudge thin to avoid closing them down visually. The forgiving technique means you can apply it in a rush and still look polished and intentional.
Finish with generous mascara, since the smudged line and full lashes work as a team to define the eye. A peachy-nude lip keeps the warmth cohesive across the face. This is also the perfect technique for lower lash line definition — just use a lighter hand down there. It is the rare technique that looks better slightly imperfect, so beginners genuinely cannot get it wrong.
Soft Brown Crease
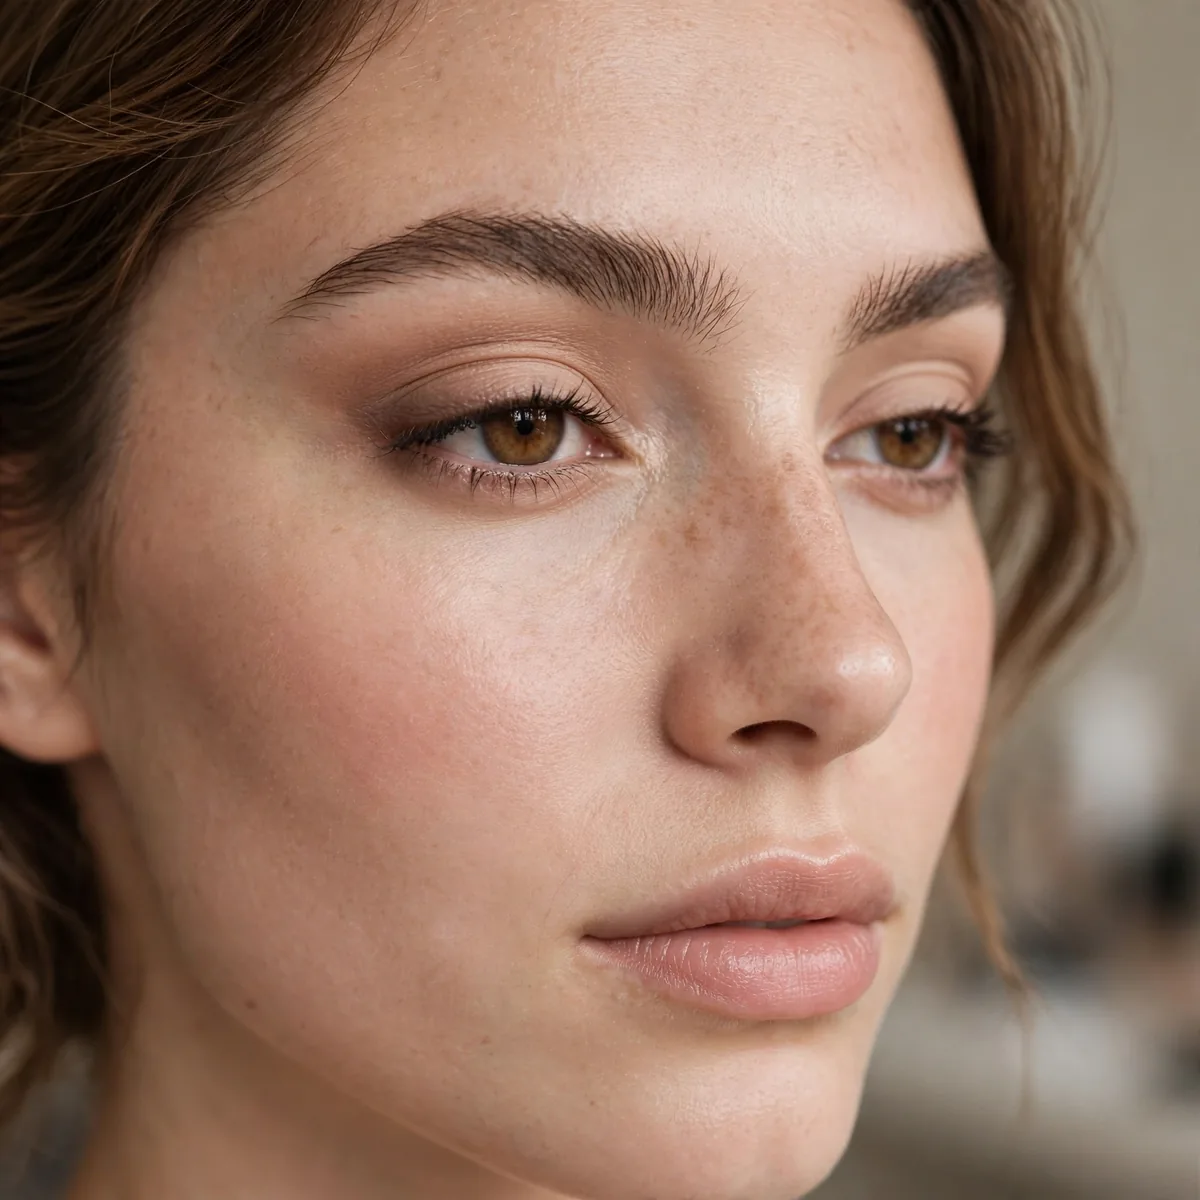
The soft brown crease is the two-step upgrade to the one-shadow wash: your neutral lid shade plus a soft brown worked through the crease for gentle dimension. It is the look makeup artists do on models for natural beauty editorials — defined but invisible, structured but soft. Two shades, one brush each, five minutes total, and you look like you tried.
Apply the lid shade first across the whole lid, then with a fluffy brush, sweep soft brown through the crease using windshield-wiper motions. Blend until you cannot see where the brown starts or ends — seamless is the goal. The brown should be matte and only slightly deeper than your skin; think latte, not espresso, for the most natural effect.
This is the universal daytime eye: office, brunch, parent-teacher conferences, absolutely everything. It suits all eye shapes and ages, and it is the most requested natural look for a reason. On hooded eyes, bring the brown slightly above the natural crease so the definition stays visible when the eyes are open.
Mascara and groomed brows complete it; the look is too natural for heavy liner, which would ruin the effect. A rosy nude lip and soft blush keep the fresh daytime feel. Master this and you can wear it daily for years without ever getting bored. Keep a dedicated fluffy brush just for this look so the technique stays quick and second nature.
Peach Glow
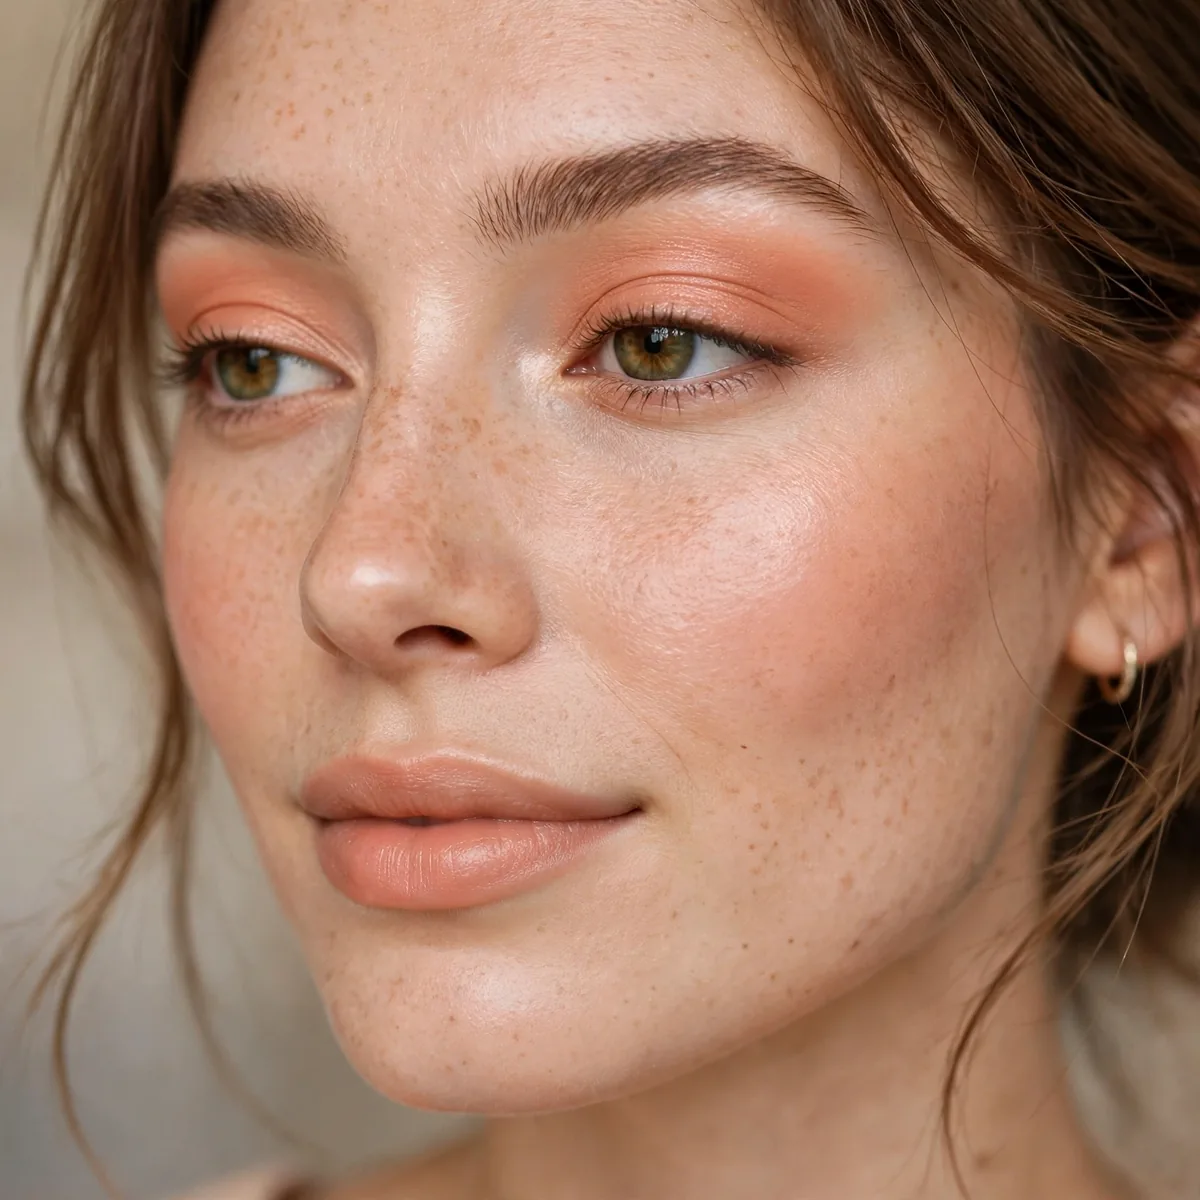
Peach glow is springtime in an eyeshadow: a warm peachy wash across the lids that brightens the whole face and looks youthful on everyone. The warmth counteracts dullness and dark circles, making the entire eye area look fresher and more awake. It is the shade equivalent of good lighting — flattering, forgiving, and universally pretty on every face.
Choose a peach with a satin finish — flat mattes can look chalky in peach tones, and heavy shimmer can look juvenile and cheap. Sweep it across the lid and slightly above the crease, blending well into the skin. A touch of the same peach on the lower lash line ties the look together beautifully and makes eyes look bigger and brighter.
This flatters all skin tones, though the ideal peach depth varies — fair skin suits soft apricot, deeper skin glows in richer coral-peach. It is perfect for daytime, spring events, and anyone who wants to look rested and fresh. Blue eyes pop beautifully against peach through warm-cool contrast. The effect is like a filter in real life, softening everything while keeping you looking completely natural.
Pair with peachy blush on the cheeks for a monochromatic fresh face, and finish with a glossy nude lip. Skip black liner entirely — brown mascara keeps the softness intact. This is a wonderful first colorful shadow because it is nearly impossible to overdo or mess up. It is proof that color can be gentle, and gentle can still be genuinely beautiful.
Rose Pink Sheen
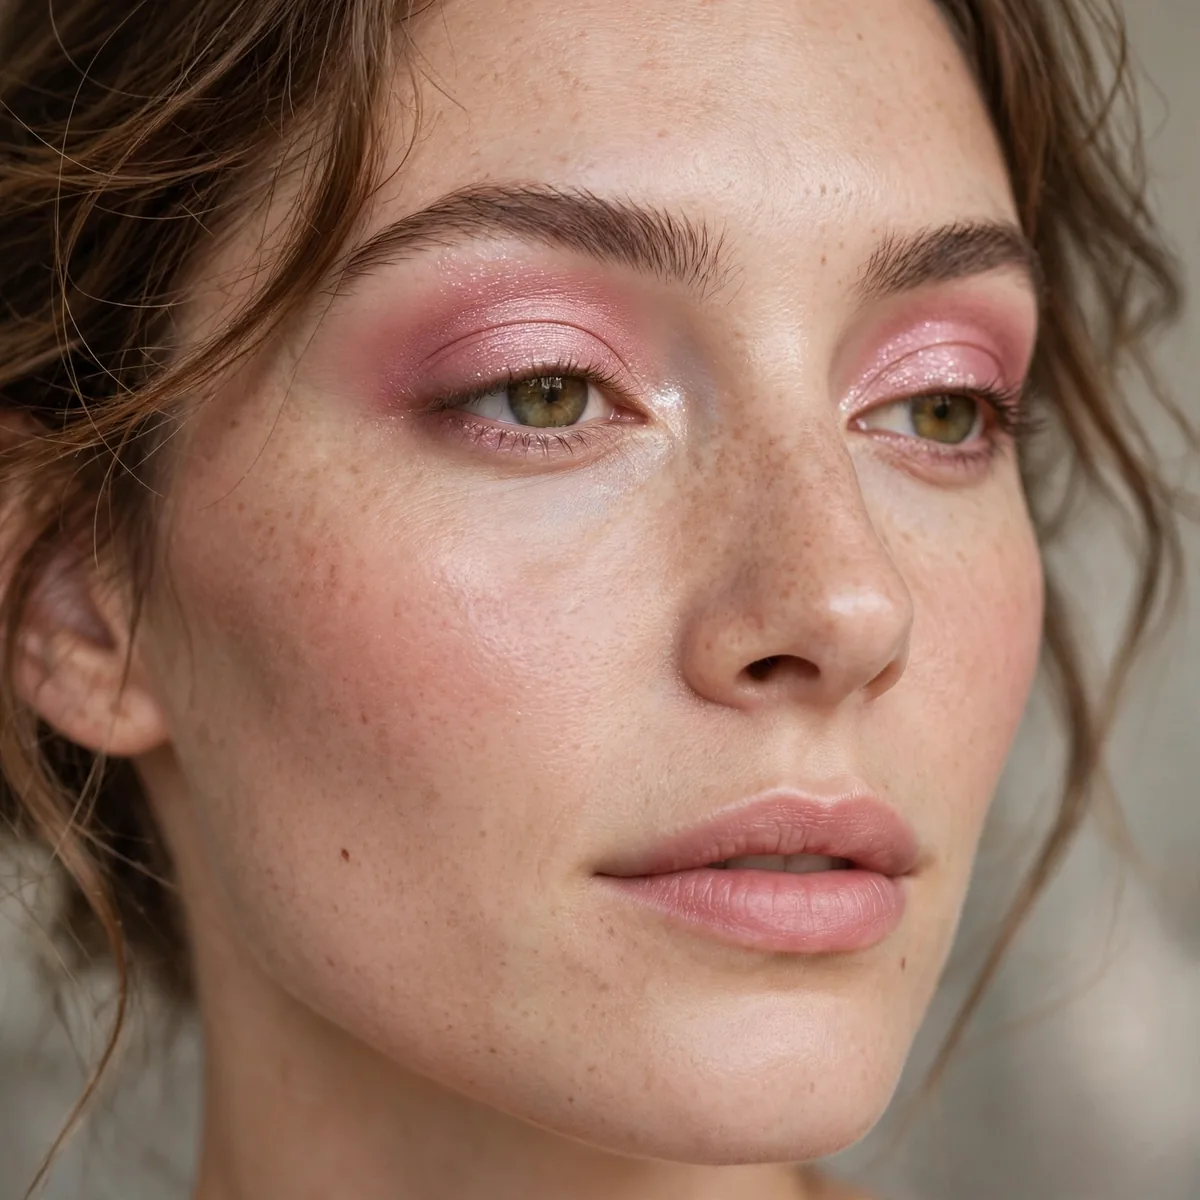
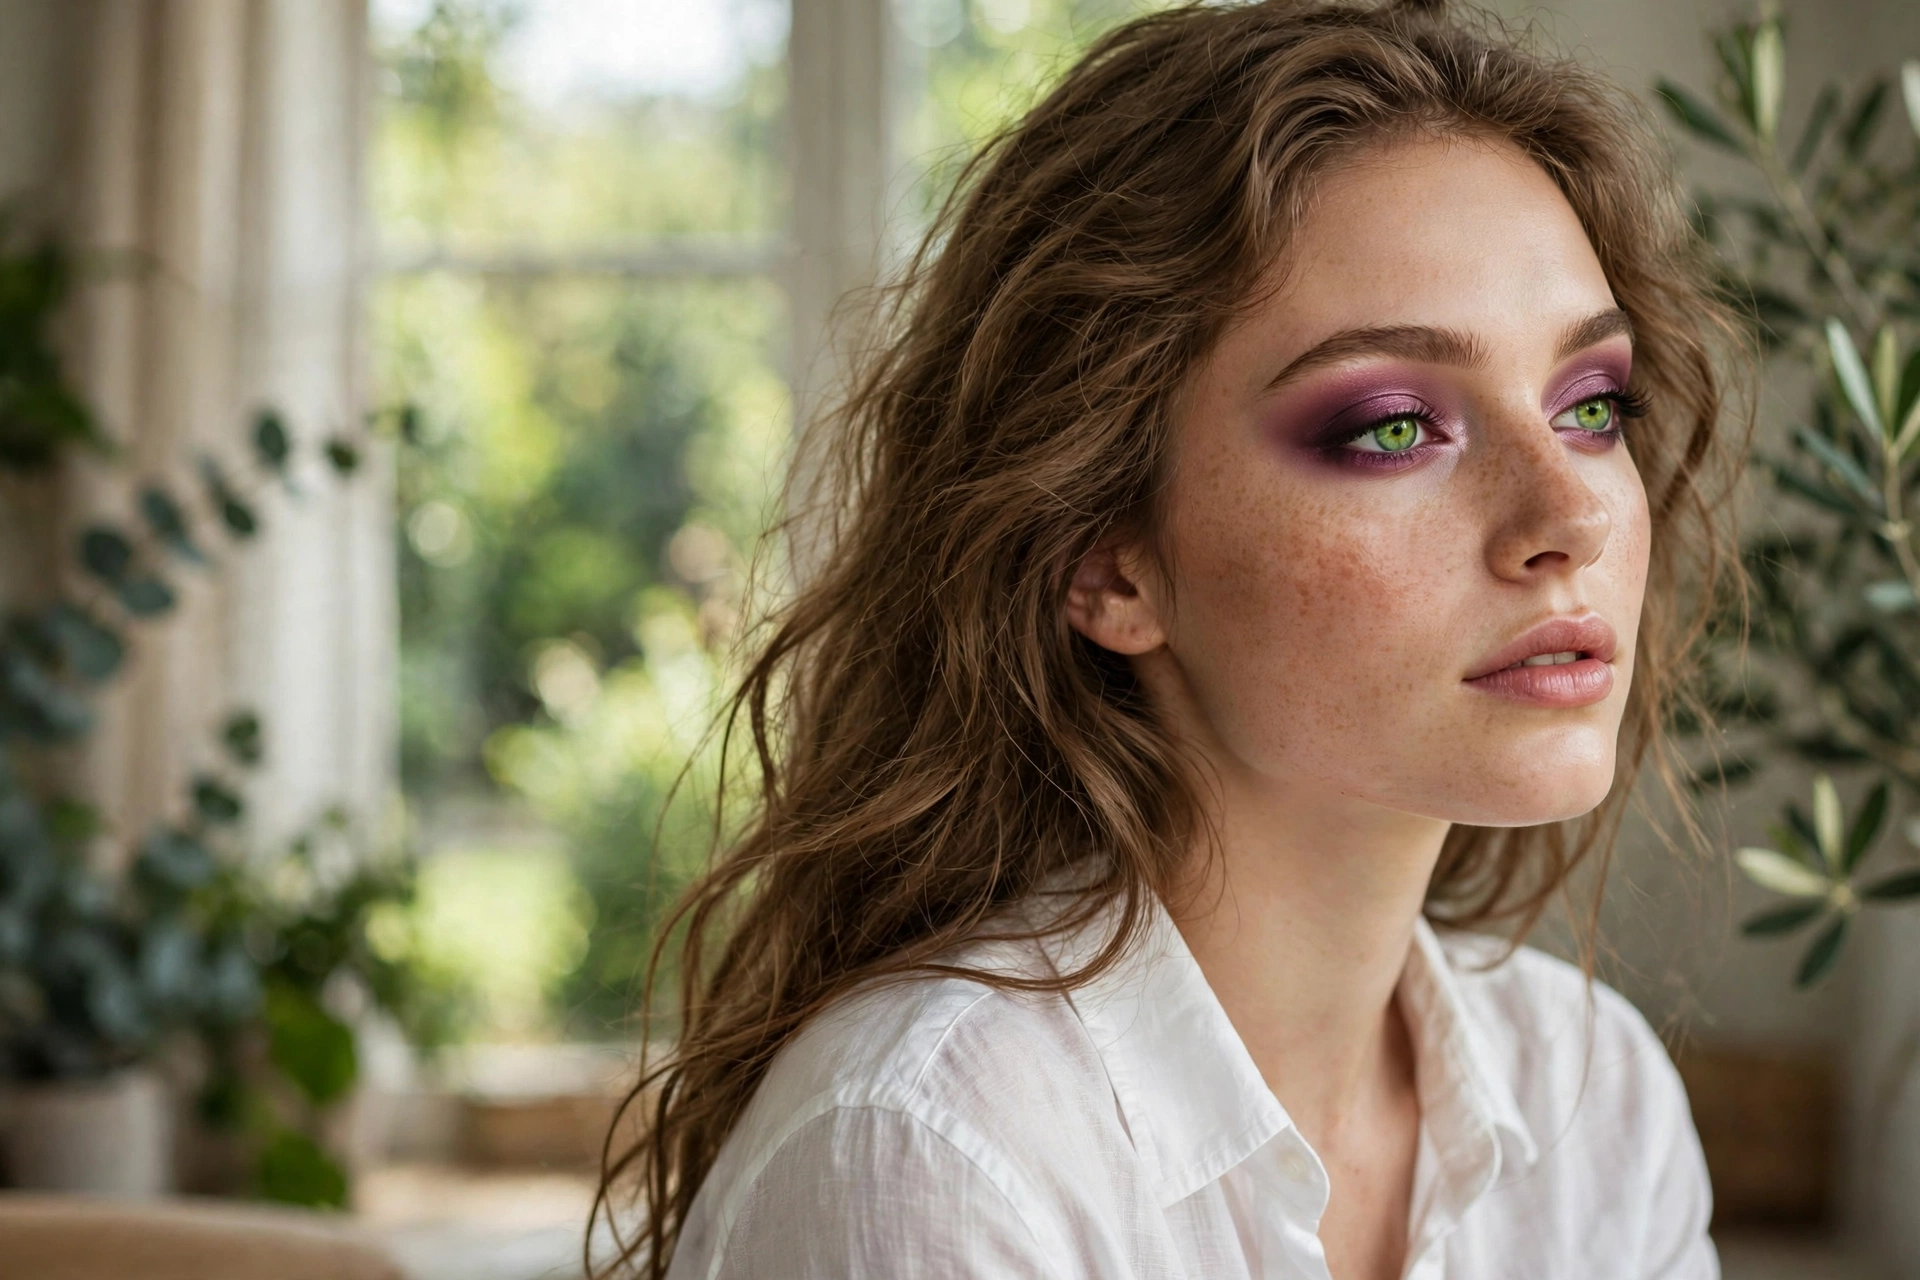
Rose pink sheen is romance without effort: a soft rosy shade with a delicate luminosity that makes eyes look tender and pretty. Unlike bold pinks, dusty rose is wearable daily and flatters nearly everyone who tries it. The sheen finish keeps it modern — flat pink can read dated, but a luminous rose reads fresh, current, and effortlessly feminine.
Pick a rose with a satin or pearl finish and sweep it across the lid, deepening the outer corner slightly with a touch more product for dimension. Blend the edges thoroughly, because pink shows harsh lines more cruelly than neutral shades do. A champagne highlight at the inner corner keeps the pink from making eyes look tired or irritated.
This suits all eye colors beautifully, though it is especially lovely on green eyes where the contrast glows. It works for date nights, weddings, and any occasion calling for softness and romance. On mature eyes, the luminous finish brightens without emphasizing texture the way chunky glitter would. The romantic softness works year-round, from spring weddings to cozy winter date nights.
Coordinate with rosy cheeks and a rose-tinted lip for a harmonious romantic face from every angle. Brown liner smudged at the lash line adds gentle definition without harshness. This is a lovely gateway into colored shadows for neutral-only wearers who want to branch out. Once pink feels comfortable, the whole rainbow of eyeshadow opens up to you.
Copper Halo
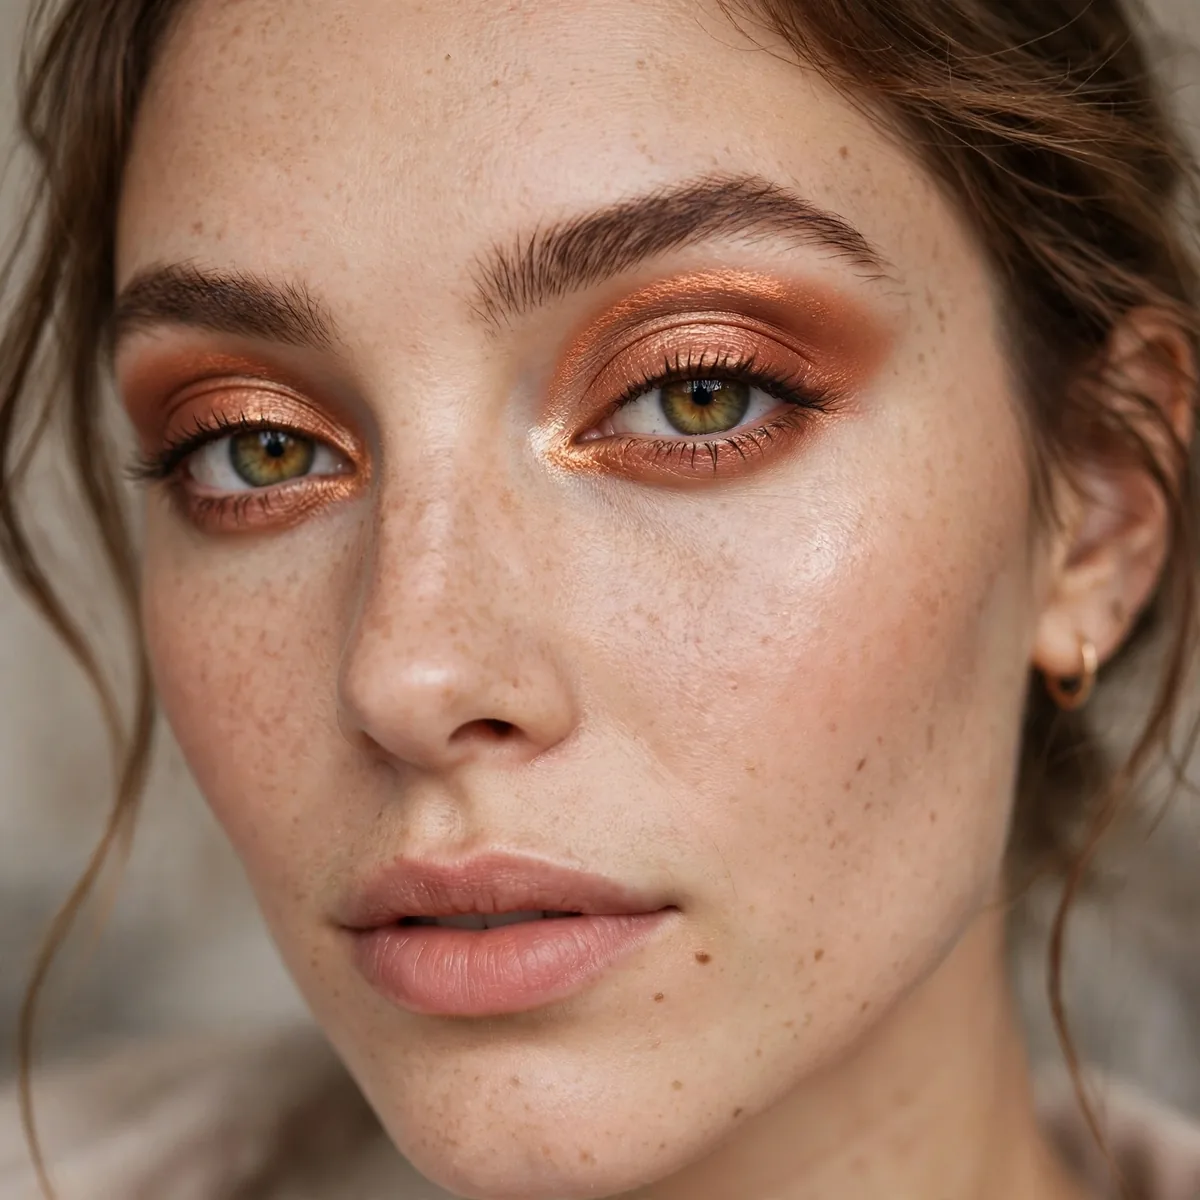
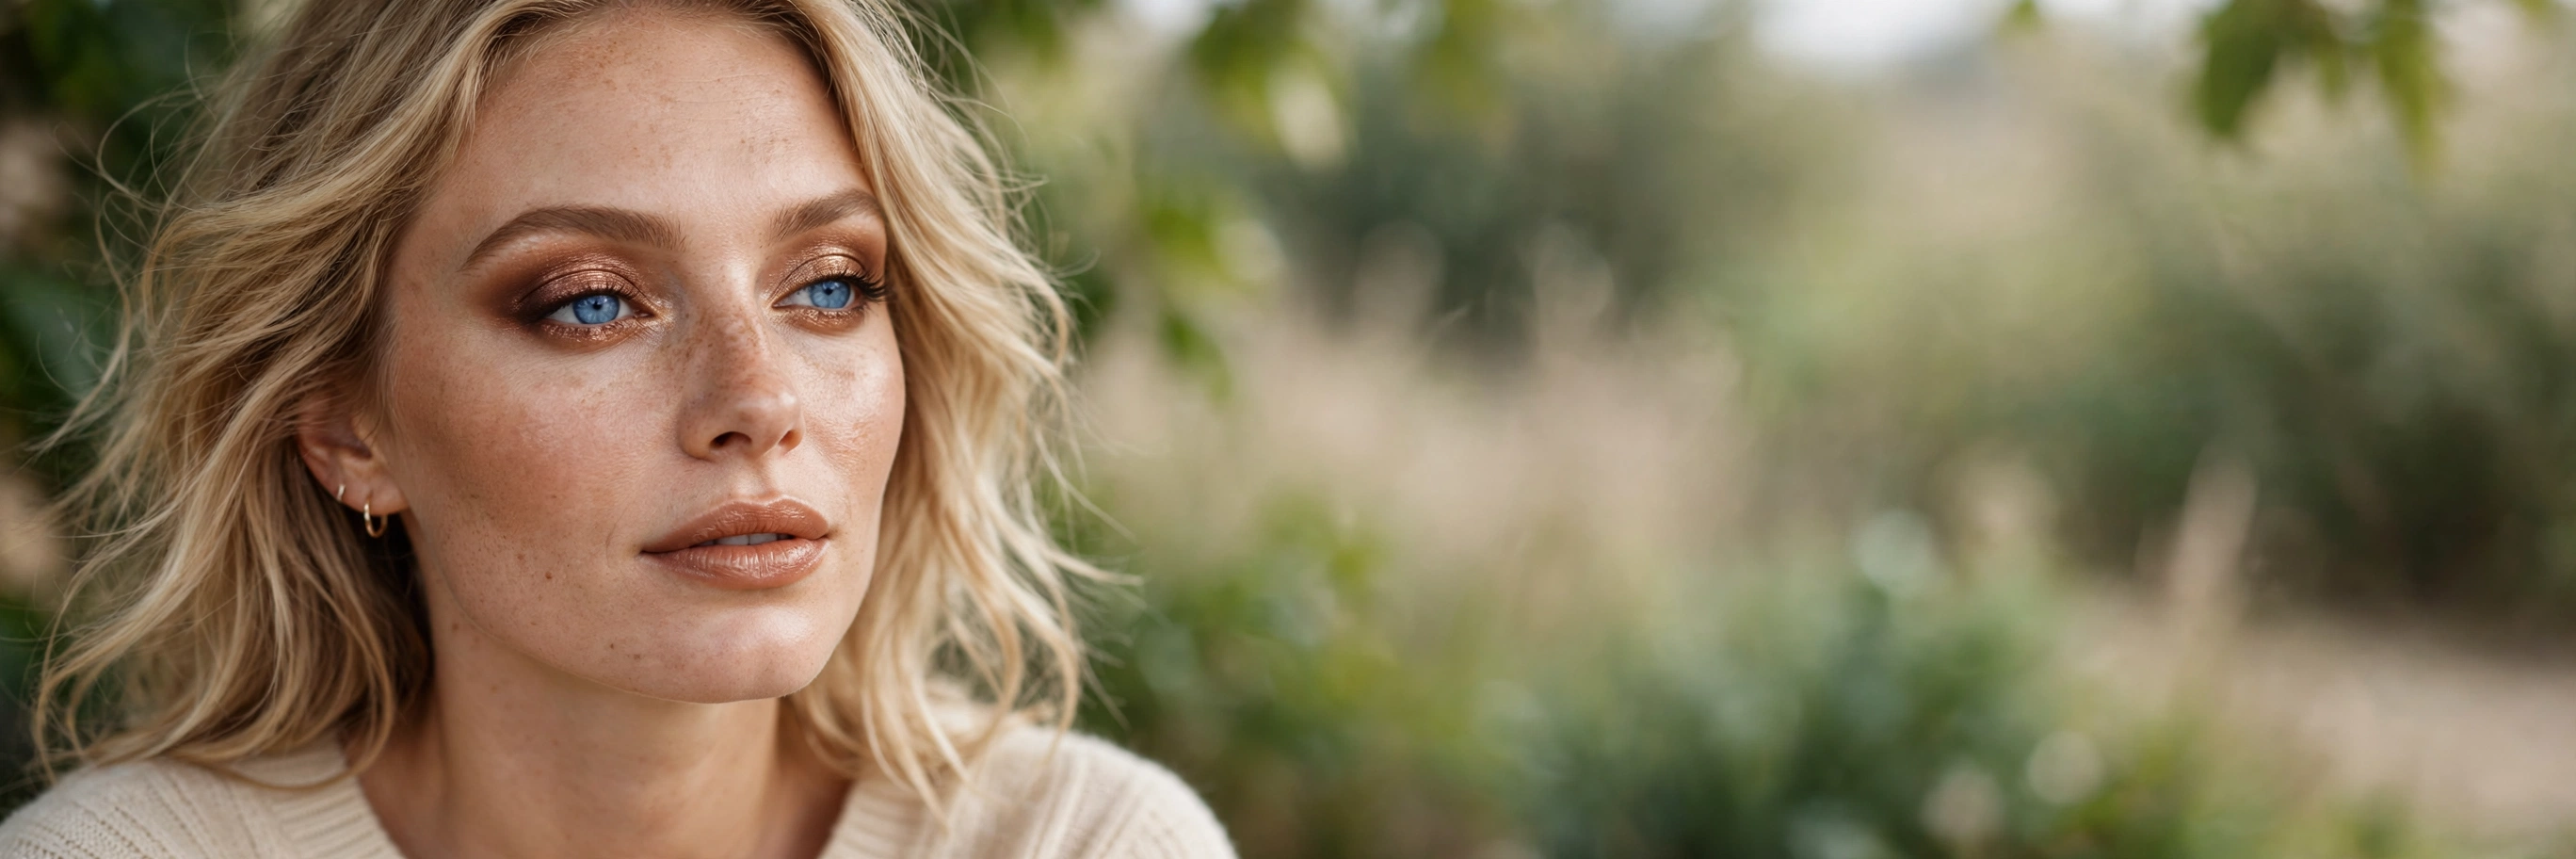
The copper halo is a beginner-friendly twist on the spotlight eye: copper shimmer pressed onto the center of the lid, with soft brown blended at the inner and outer corners. The bright center makes eyes look rounder and more awake — it is the most flattering placement for deep-set or close-set eyes. Three shades, but the technique is just pressing and blending, nothing more complex.
Start with the brown at the outer and inner corners, leaving the center bare, then press copper onto the bare center with your fingertip for maximum payoff. Blend where the shades meet with a clean fluffy brush so there are no harsh transitions. The halo effect comes from the contrast — dark, light, dark — so keep the center distinctly brighter than the corners.
This flatters all eye shapes but works magic on deep-set eyes, bringing them forward with light in the most flattering way. Copper complements blue and green eyes spectacularly through warm-cool contrast. It is lovely for evenings out when you want dimension without committing to a full smokey eye. The dimensional glow photographs beautifully, making it a favorite for evening events and dinners.
Keep lips neutral — the eyes are doing plenty of talking in this look. A warm blush echoes the copper tones nicely across the face. Because the center highlight is the focal point, make sure it is the most pigmented part; build it in two pressed layers for full intensity.
Subtle Gray Smoke
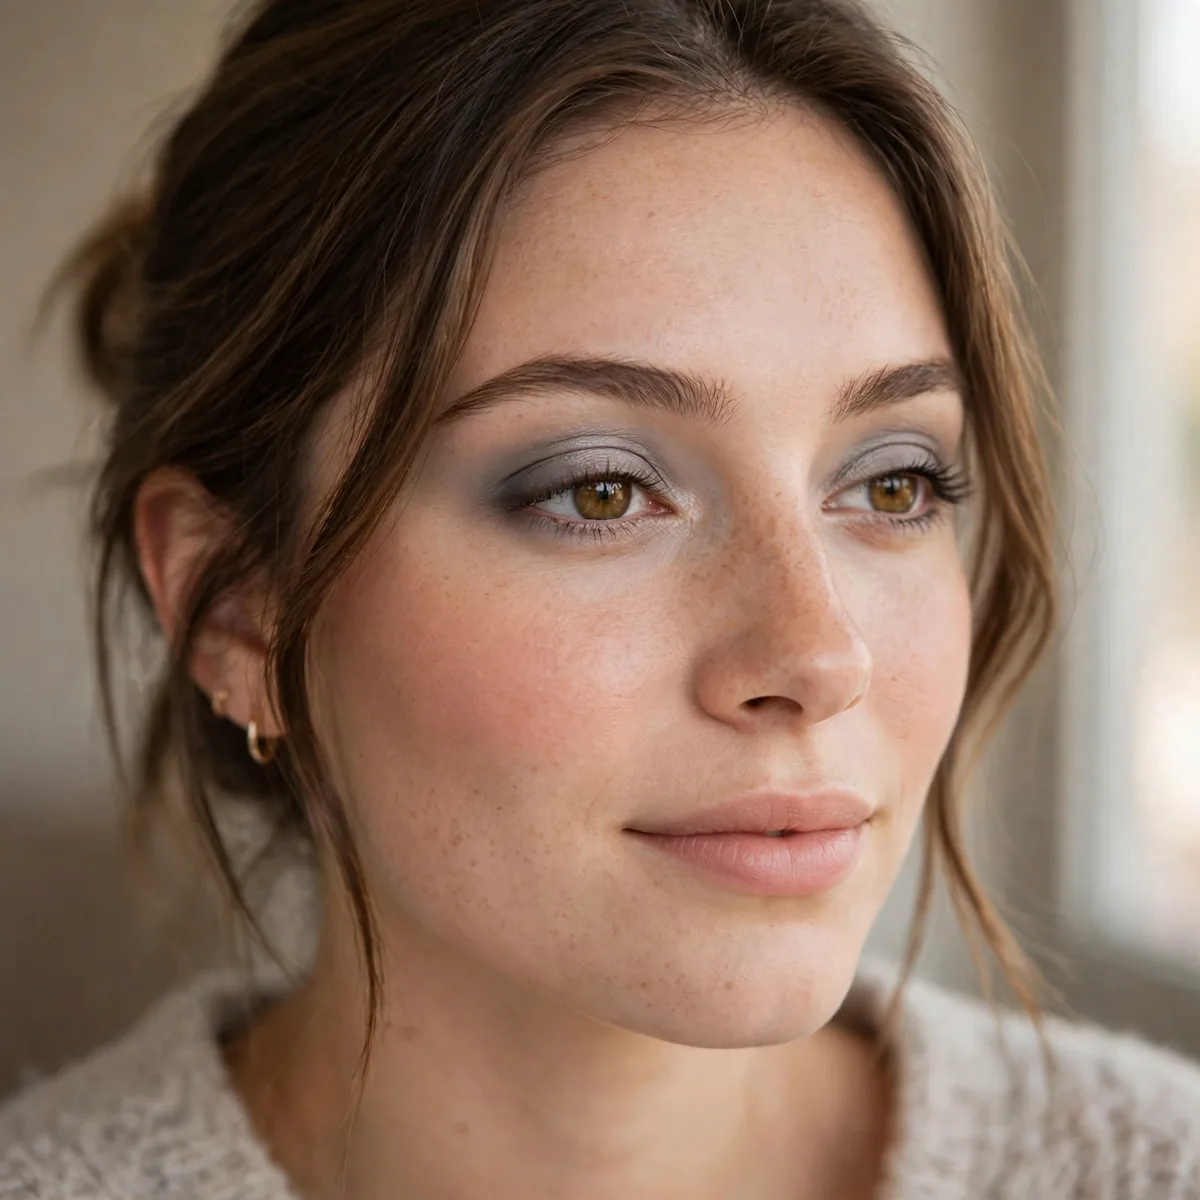
Subtle gray smoke is the training-wheels smokey eye: soft charcoal blended into something wearable rather than dramatic. Gray is more forgiving than black in every way — it blends easier, looks softer, and suits daytime in a way black smoke rarely does. You get the sultry effect with half the intimidation factor, which makes it the perfect first smokey eye.
Use a medium gray in the crease and a deeper charcoal on the outer third, blending thoroughly with a fluffy brush until no edges remain. The secret is building slowly — three light layers beat one heavy one every single time. Smudge the same gray along the lower lash line for a complete smokey effect, keeping it thinner than the top for balance.
This suits all eye colors and is the ideal first evening look for beginners ready to try smoke. It is perfect for dinners, concerts, and nights out. On fair skin, keep the gray soft to avoid harshness; on deeper skin, you can push the depth further for beautiful and striking contrast.
Balance the smokey eyes with a nude lip — dark eyes plus dark lips overwhelms most beginners' faces. A soft contour adds welcome structure to the face. Waterproof mascara is wise since smokey looks and watery eyes are common companions on long evenings. Master this gentle smoke and the dramatic black version will feel far less intimidating later.
Mocha Lid
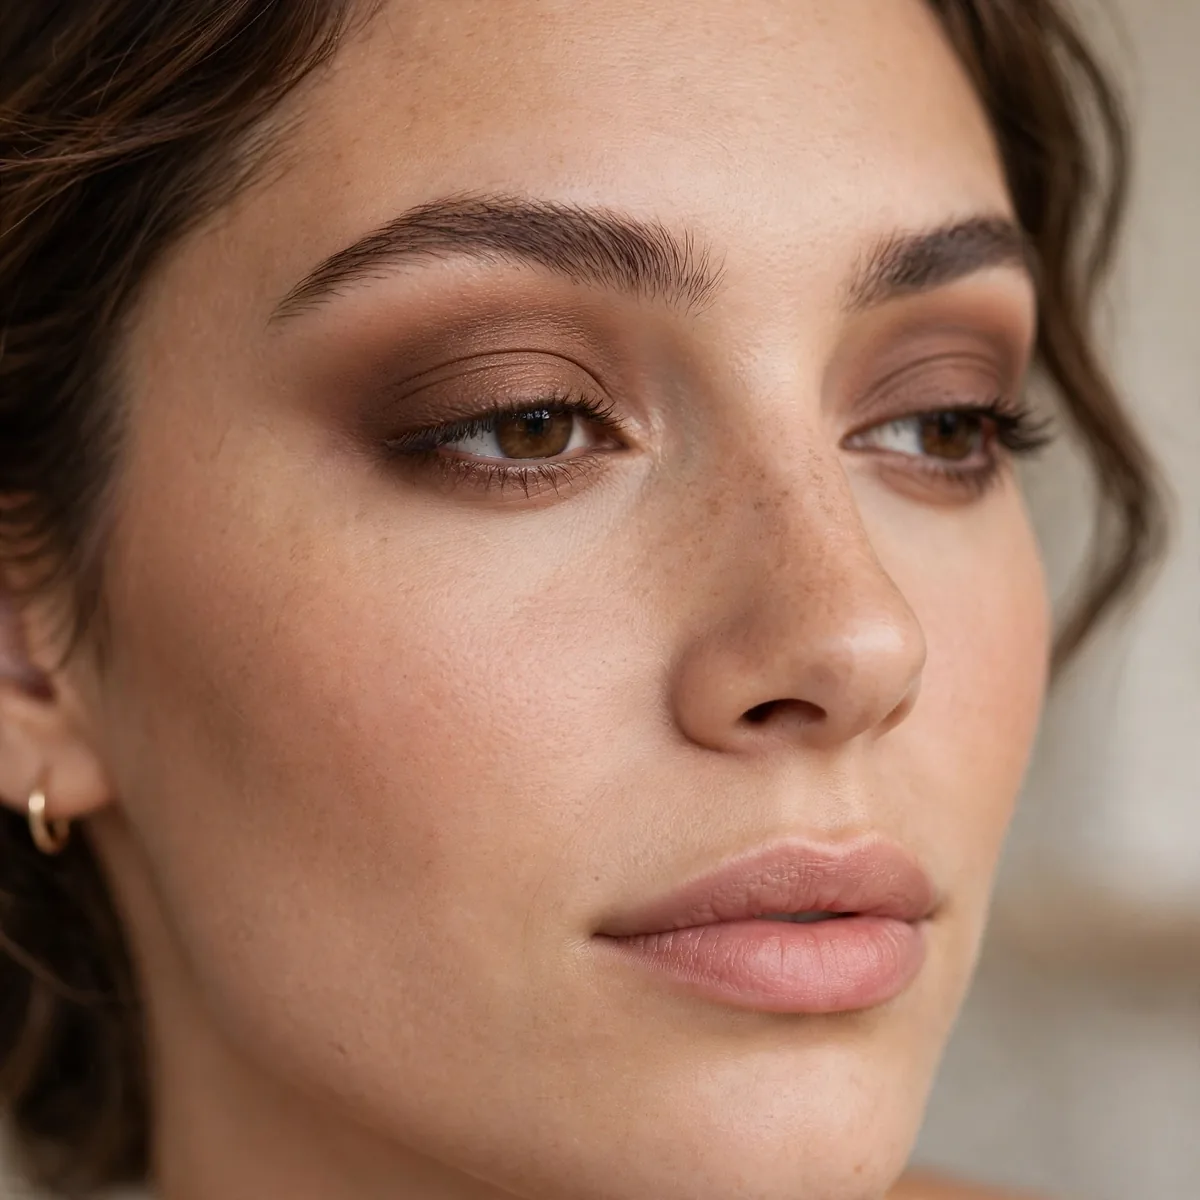
The mocha lid is cozy and rich: a warm medium-brown swept across the lid like a latte in eyeshadow form. It is deeper than nude but softer than bronze — the perfect middle ground for anyone who finds shimmer too much and matte nude too little. One shade, beautifully simple, endlessly wearable through every season.
Choose a mocha with a satin finish for the most flattering texture — it has the richness of matte with a whisper of light that keeps it from looking flat. Apply with a flat brush using pressing motions, then blend the crease edge with a fluffy brush for seamlessness. The pressing motion gives better color payoff than sweeping for satin formulas specifically.
This flatters every skin tone when the mocha depth is matched well — lighter mochas for fair skin, deeper ones for rich skin. It is ideal for fall and winter, office days, and anyone who loves coffee-toned neutrals. Brown eyes look especially deep and warm against mocha, glowing like the drink itself.
Pair with a mocha or nude lip for a tonal look, or a berry lip for striking contrast. Bronzer on the cheeks keeps the warmth cohesive across the face. This is a fantastic everyday signature look — simple enough for daily wear, pretty enough for constant compliments. It layers beautifully under deeper shades too, making it one of the hardest-working neutrals you will own.
Pearl Inner Corner
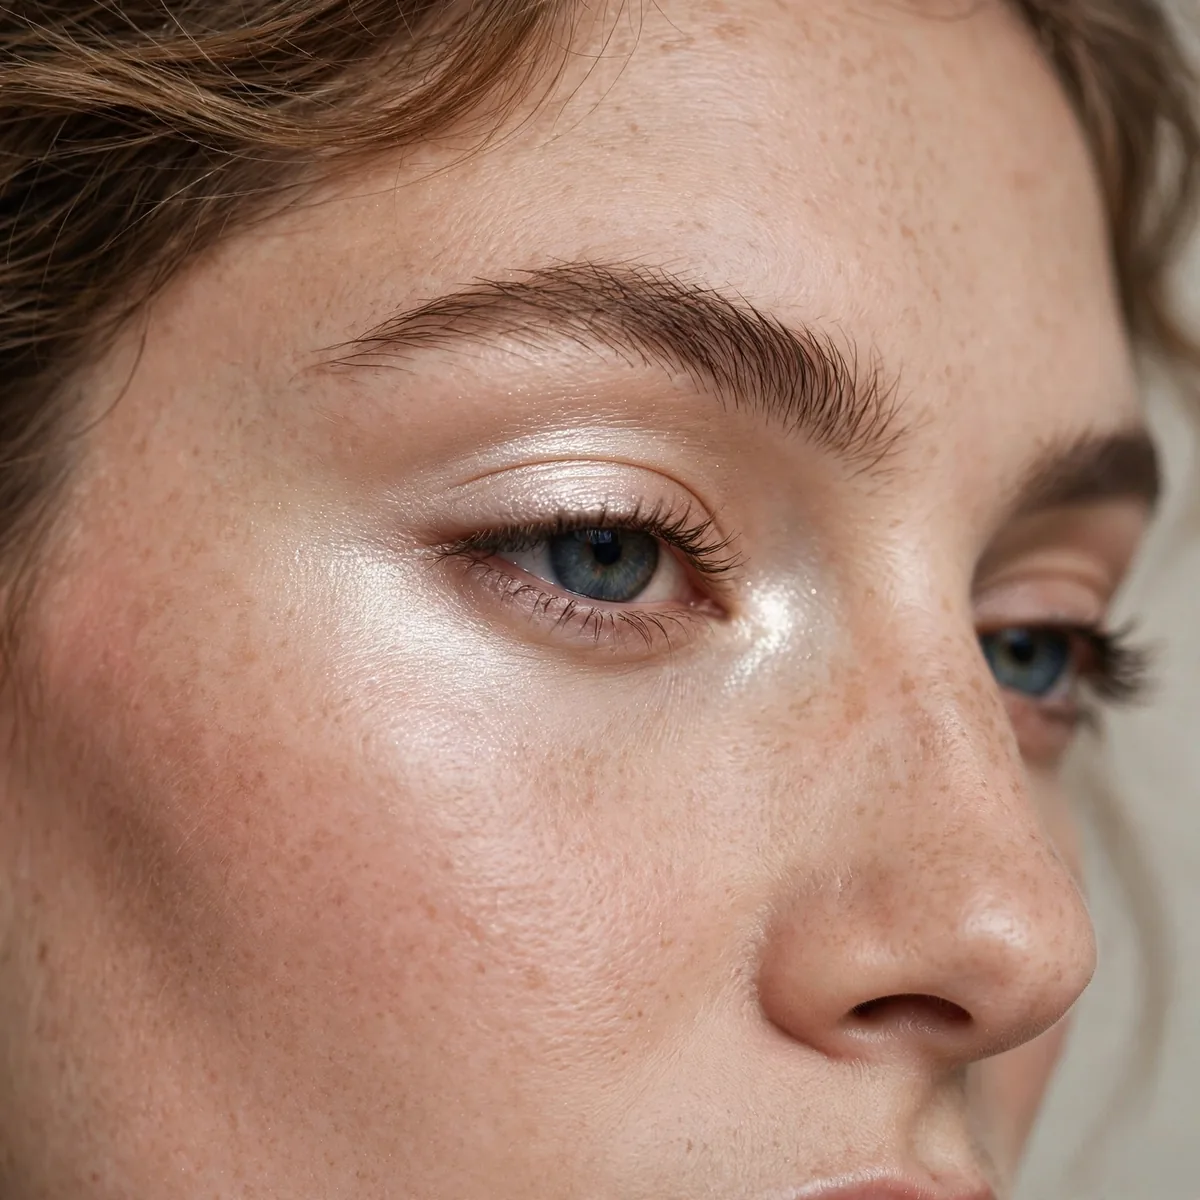
The pearl inner corner is the smallest step with the biggest payoff: a dab of pearly highlighter at the inner corner of each eye instantly brightens, widens, and wakes up the entire face. It takes five seconds, requires zero skill — just a fingertip and a light shade — and makes every other look on this list noticeably better.
Use your ring finger to pat a pearl or champagne shimmer into the inner corner and slightly onto the inner third of the lower lash line. The ring finger has the lightest touch and the perfect size for this delicate area. Choose a finely-milled pearl, not chunky glitter, for an elegant brightening rather than a disco-ball effect.
This suits everyone, every eye shape, every single occasion imaginable. It is especially transformative for close-set eyes, tired eyes, and early mornings when you need all the help you can get. Add it to any look — from bare lids to full smoke — and watch the whole face lift instantly.
It pairs with literally everything since it is just a brightening detail, not a competing color. Keep the rest of your routine unchanged and simply add this step. Once you start doing this, you will never skip it — it is the makeup equivalent of turning on a light in a dark room.
Warm Sand Blend
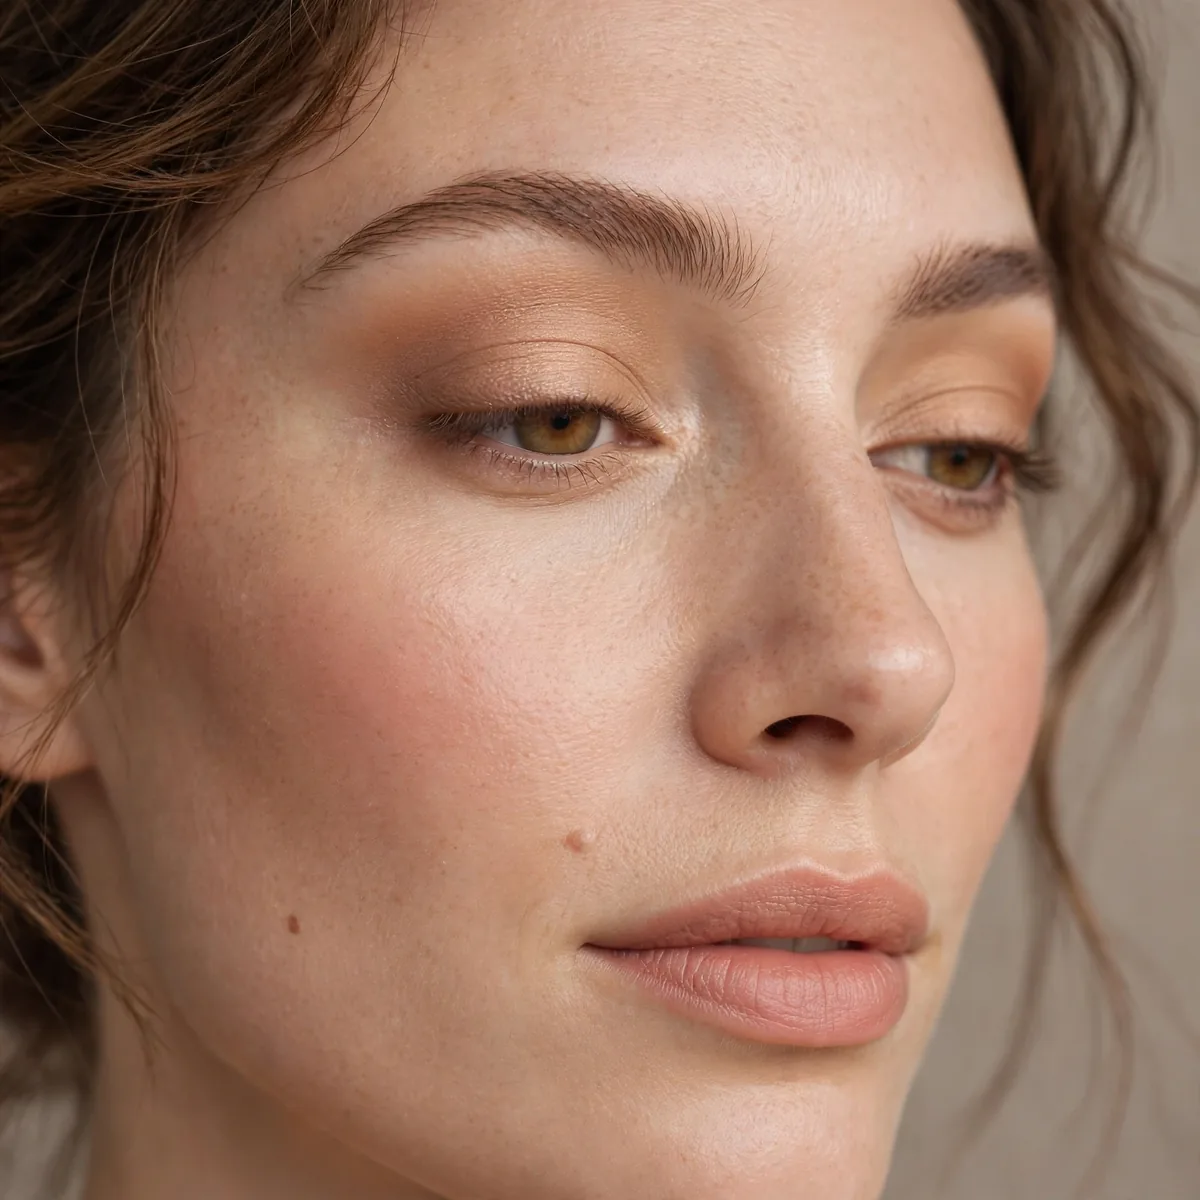
Warm sand blend is the barely-there neutral that makes lids look even and eyes look defined without any visible makeup at all. A warm sandy beige swept across the lid and crease neutralizes discoloration and adds gentle warmth. It is the look for people who want to look polished while appearing to wear absolutely nothing.
The warmth is key to the whole effect — cool beiges can look gray and lifeless on the lid, while warm sand mimics the natural flush of healthy skin. Blend it from lash line to brow bone in a sheer layer; this is an all-over shade, not a precise placement requiring skill. One fluffy brush does the entire job in under two minutes.
This suits minimal-makeup devotees, professional environments, and anyone easing into eyeshadow for the first time. It works on all skin tones — just match the sand depth to your complexion for the most natural result. On mature lids, the matte warmth smooths without settling into fine lines the way shimmer can.
Pair with clear brow gel, one coat of mascara, and tinted lip balm for the ultimate fresh face. This also works beautifully as a base layer under any shimmer when you are ready to level up your look for evening. Think of it as skincare for your lids: invisible effort with visible polish.
Muted Mauve
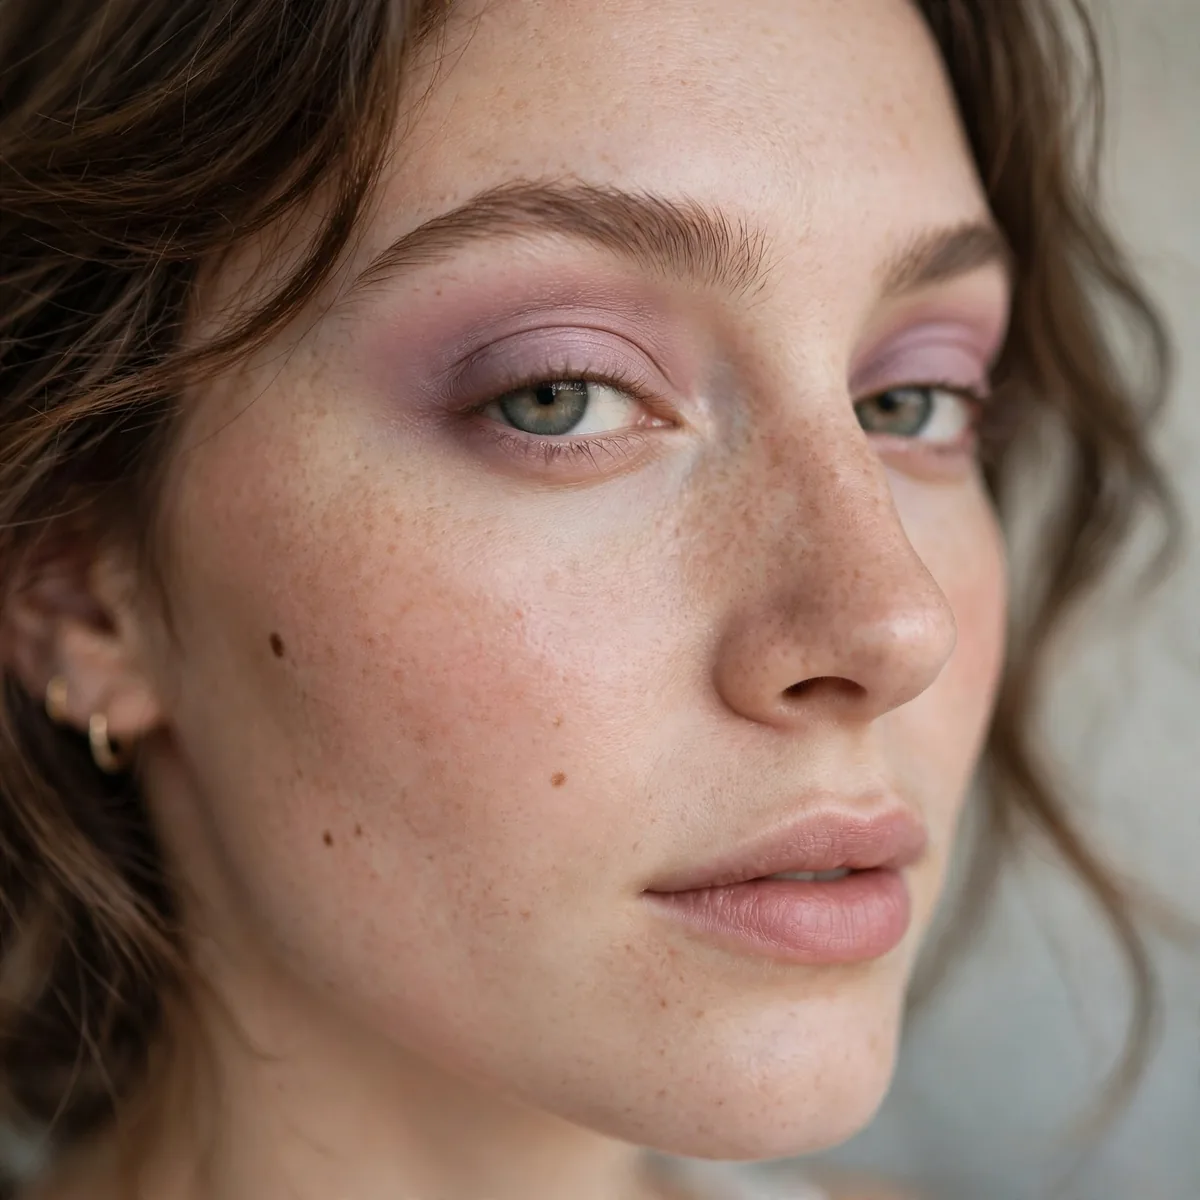
Muted mauve is the cool-toned neutral nobody talks about enough: a dusty pink-brown that is sophisticated, modern, and flattering on nearly everyone. It is the answer for people who find warm browns too orange and grays too cold. Soft, understated, and quietly chic — the fashion-girl neutral hiding in plain sight.
Sweep mauve across the lid and blend a slightly deeper mauve through the crease for gentle dimension. Because mauve is naturally muted, it is very forgiving — blending mistakes barely show, which beginners love. A satin finish keeps it contemporary; flat matte mauve can read dull, so look for subtle luminosity in the formula.
This flatters all eye colors and suits both day and evening wear. It is particularly beautiful on fair to light-medium skin, where the cool undertone harmonizes naturally. For deeper skin, choose a richer plum-mauve so the color registers visibly. It is office-appropriate but still interesting enough for compliments. It is the shade that makes people assume you have naturally defined, interesting eyes.
Pair with a mauve or berry lip for tonal harmony, and finish with a soft pink blush. Skip warm bronzer here — the cool palette wants cool or neutral cheeks to stay cohesive. This is a wonderful alternative when you are bored of brown but not ready for real color.
Satin Olive
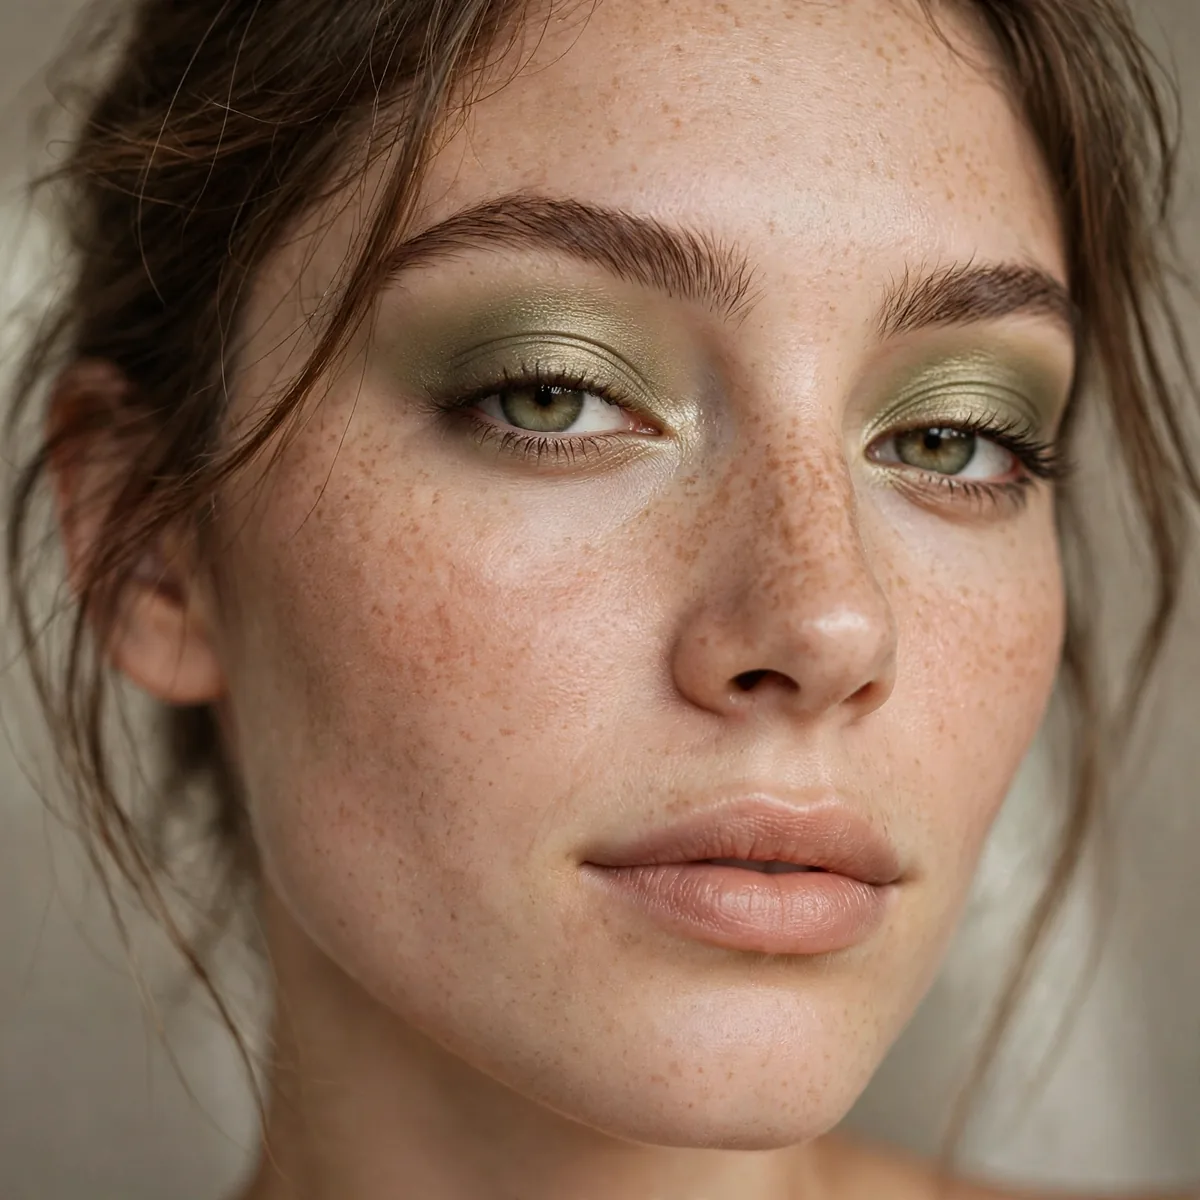
Satin olive is the secret neutral for people bored of brown: a muted green-gold that reads as earthy and sophisticated rather than colorful. On the lid, olive functions like a neutral — it defines without shouting for attention. It is the shade that makes people ask what you are wearing, in the best possible way.
Apply it like any lid shade — pressed across the mobile lid with a flat brush, blended softly at the edges. The satin finish is essential; matte olive can look muddy and flat, while satin olive glows golden-green beautifully. Pair it with warm brown in the crease for seamless blending, since olive and brown are natural partners that melt together.
This is stunning on brown and hazel eyes, bringing out golden flecks you did not know you had, and surprisingly flattering on blue eyes through contrast. It suits fall and winter especially well. Anyone nervous about green should know: muted olive reads neutral, not costume, I promise. Trust the process on the first wear; by the third, it will feel like an old favorite.
Keep the rest warm — bronzer, peachy blush, nude lip — for a cohesive earthy face. Brown mascara softens the look further for daytime. This is the perfect first step into colored eyeshadow because it behaves exactly like a neutral in practice. Few shades earn this many compliments with this little effort, so enjoy the attention.
Soft Berry Wash
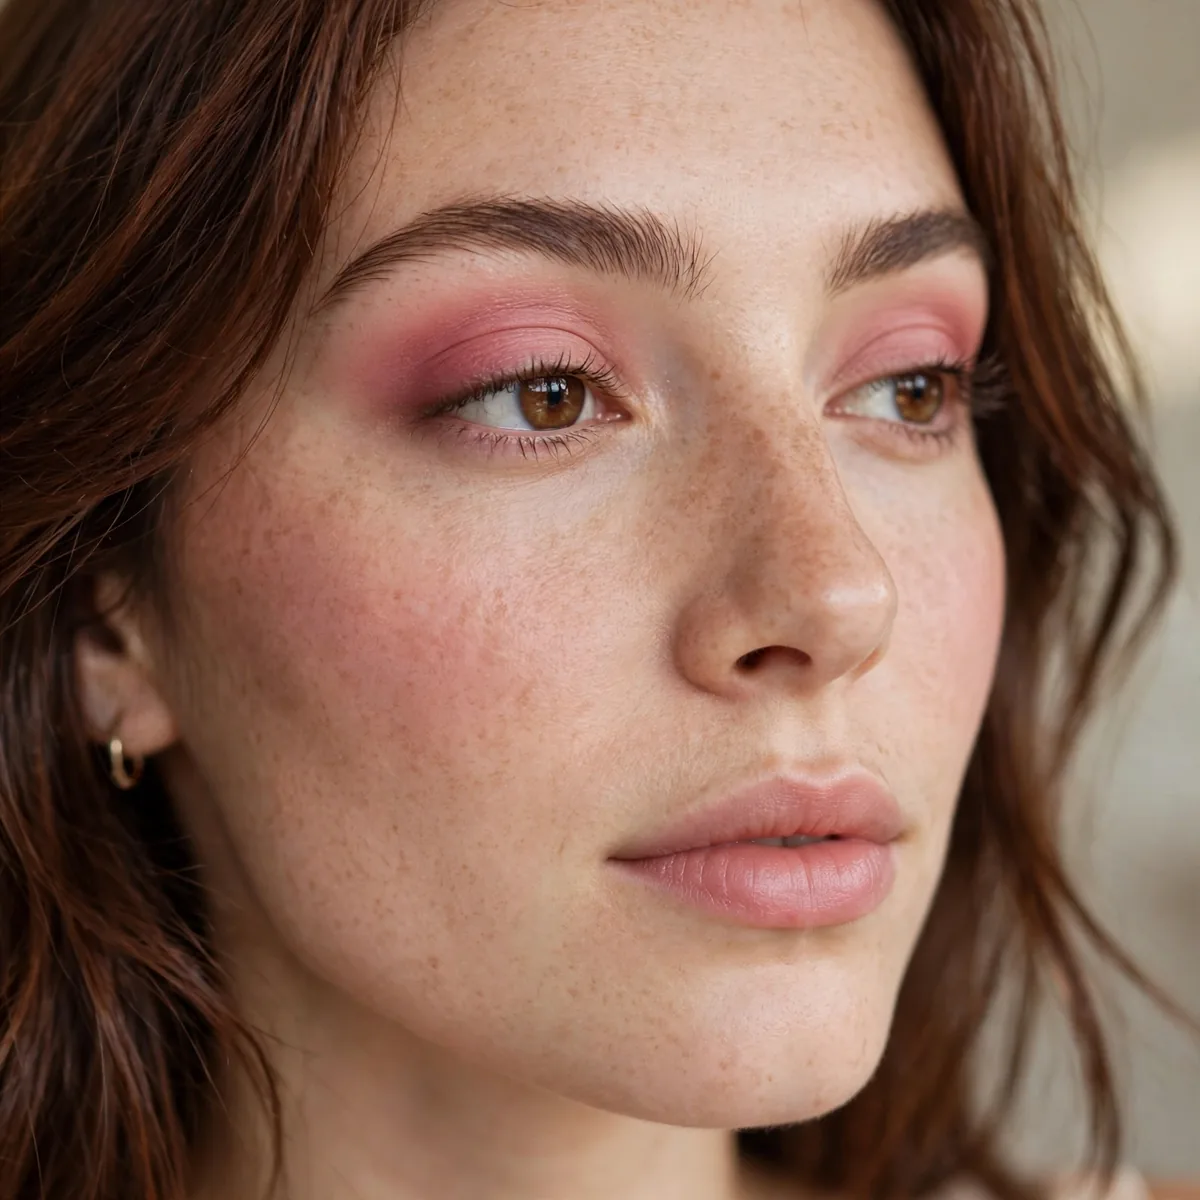
Soft berry wash brings a flush of color that is bold enough to be interesting but sheer enough to stay completely wearable. A diffused wash of muted raspberry across the lids looks modern, romantic, and fashion-forward. It is the easiest way to wear real color without committing to a full vibrant eye that might feel like too much.
Sheerness is the entire technique — apply with a fluffy brush in light layers, building only to a soft stain of color rather than full opacity. Blend the edges extensively, because berry shades show harsh lines cruelly. Keep the color on the mobile lid and crease, avoiding the brow bone, for a contemporary placement that does not overwhelm the face.
This flatters all skin tones when the berry is muted rather than neon — dusty raspberry for fair skin, deeper wine-berry for rich skin. It makes green eyes look absolutely incredible through complementary contrast. Perfect for fall, date nights, and creative workplaces that welcome a little personality. The soft color flatters without demanding attention, which is exactly its quiet power.
Echo the berry on the lips with a stained finish for a cohesive monochromatic look, or keep lips nude to let the eyes star alone. A touch of mascara is essential — berry shades need lash definition to avoid looking tired. This is a confidence-building color that earns compliments constantly.
Vanilla Highlight
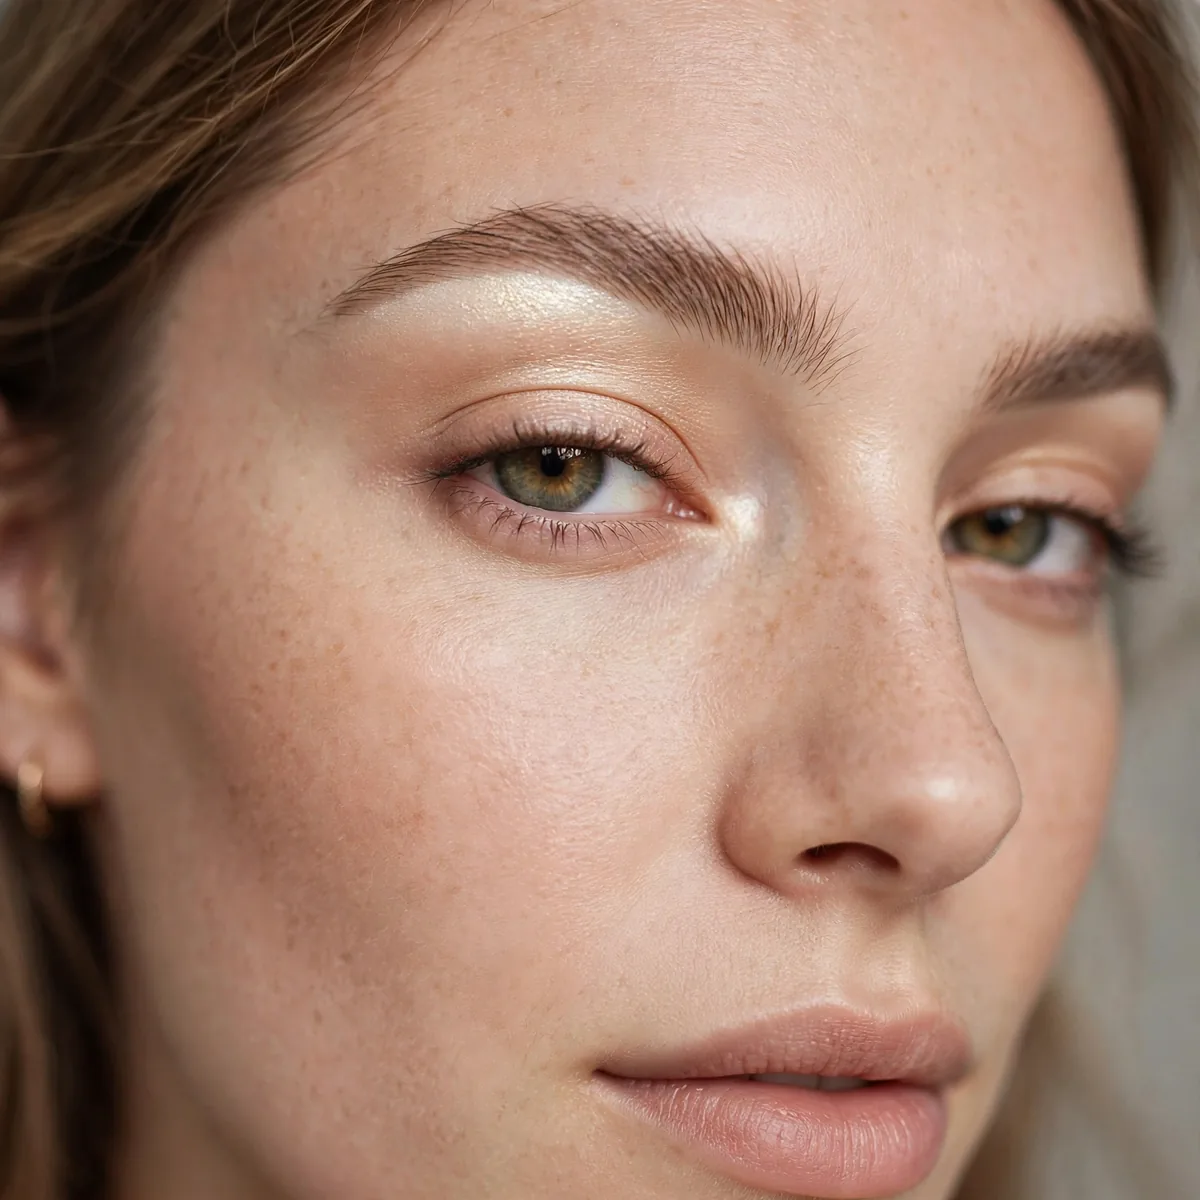
Vanilla highlight is the finishing touch that makes eyes look lifted: a soft vanilla shade swept under the brow bone and blended down to meet the crease color. It creates the illusion of higher, more defined brows and brighter, more open eyes. Like the inner-corner pearl, it is a tiny step with an outsized effect on the whole face.
Use a matte or satin vanilla one to two shades lighter than your skin — shimmery brow highlights can look dated and emphasize texture on the brow bone. Sweep it under the arch of the brow with a fluffy brush, blending downward so there is no visible line where highlight meets crease color. Less is definitely more with this step.
This suits everyone and flatters every eye shape, especially hooded eyes where the highlight creates the illusion of more lid space. It is appropriate for all occasions and all ages without exception. On deeper skin tones, choose a warm caramel highlight rather than pale vanilla for the most natural brightening effect.
It works with every look since it is purely a brightening detail rather than a color statement. Combine it with the inner-corner pearl for maximum eye-brightening power. This is the step that separates finished makeup from almost-finished makeup — never skip it. It is the professional's secret weapon for eyes that always look finished and polished.
Chocolate Smudge
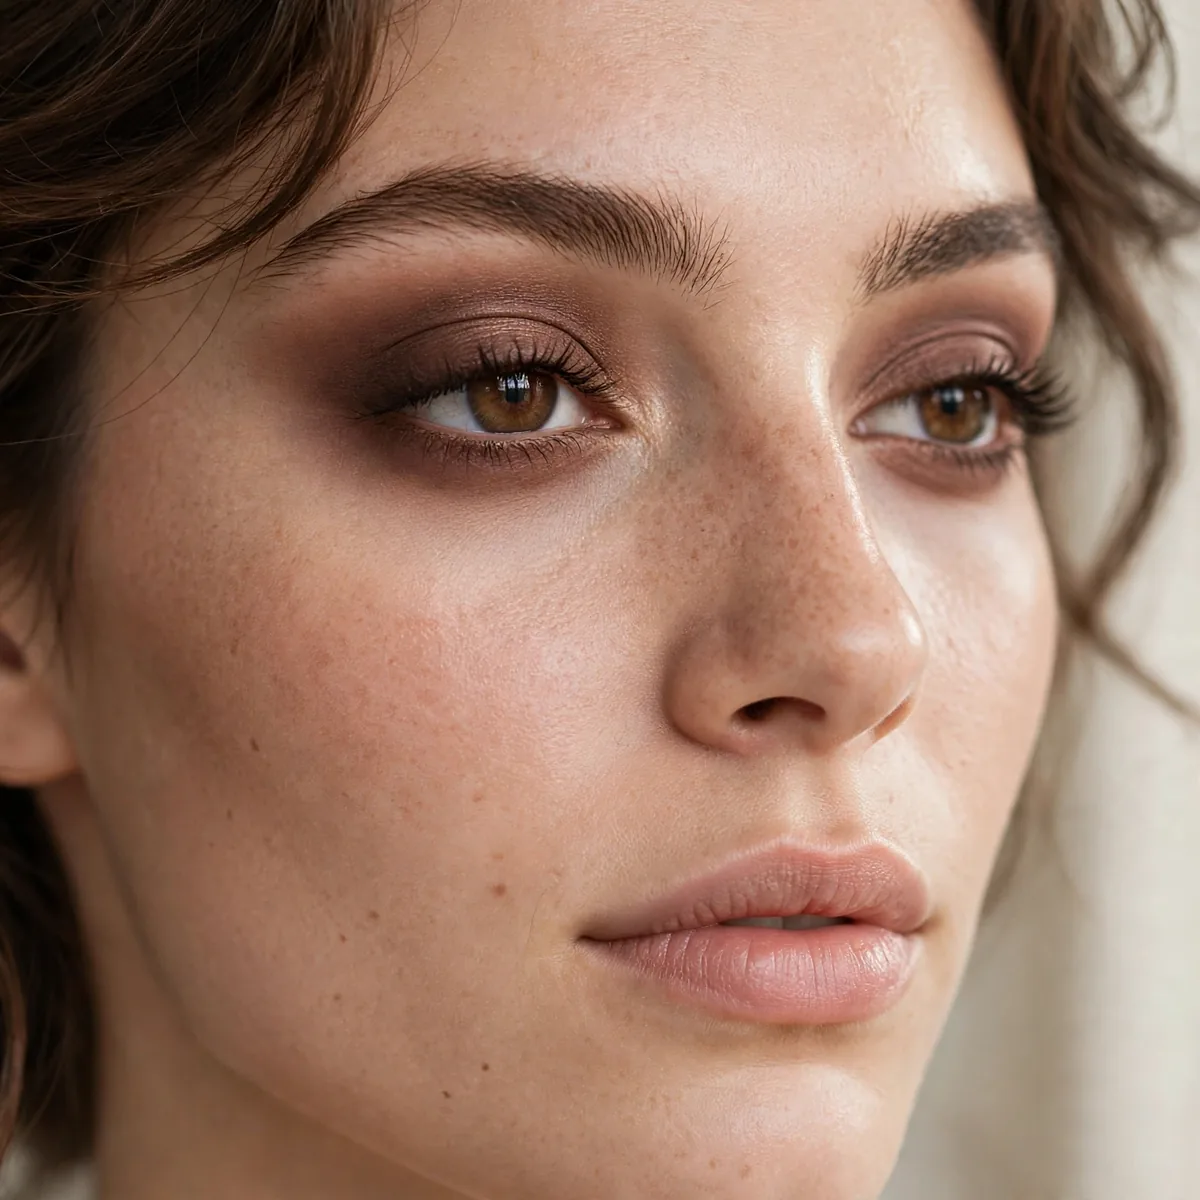
Chocolate smudge is the softer, warmer sibling of the bronze smudge: deep chocolate shadow worked along the lash lines for rich, edible definition. It is the most flattering way to get smokey definition without black — chocolate adds depth while keeping the overall effect warm and approachable. Perfect for brown-eyed beauties especially.
Use a pencil brush to stamp chocolate shadow along the upper lash line, then smudge with small back-and-forth motions until soft. Extend slightly past the outer corner and angle it upward for a subtle lifting effect. Smudge a thinner line along the lower lashes too, concentrating on the outer half to avoid closing down the eye visually.
This flatters all eye colors but is pure magic on brown eyes, deepening them like espresso in the most flattering way. It suits day and night — keep it sheer for day, build it up for evening drama. On mature eyes, chocolate is kinder than black, defining beautifully without any harshness.
Pair with warm nude lips and bronzed cheeks for a monochromatic warm face that glows. Brown mascara keeps it soft and daytime-appropriate; black mascara amps the drama for night. This technique also doubles as the easiest lower-lash definition you will ever do. Keep this technique in your back pocket; you will reach for it more than any other.
Blush Pink Lid
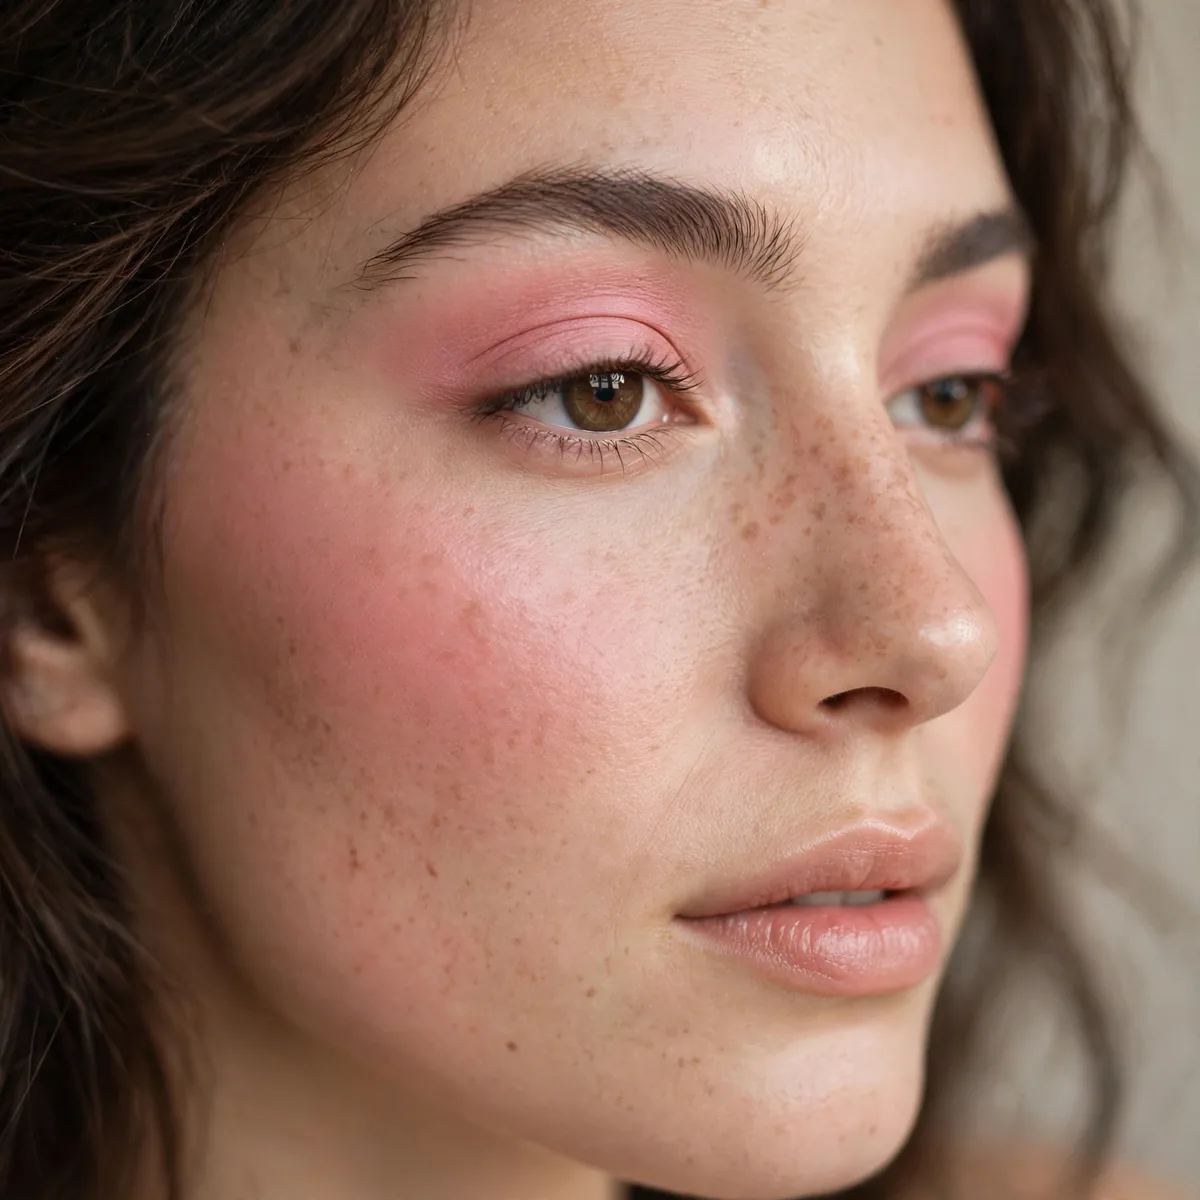
The blush pink lid is the monochromatic trend made beginner-easy: the same soft pink swept across lids and cheeks for a harmonious, fresh-faced flush. Using one product two ways guarantees perfect coordination, and the pink-on-pink effect looks intentional and modern. It is sweet, pretty, and very now — the trendiest easy look on this list.
Use a cream blush or a soft pink shadow across the lids, blending well past the crease for a diffused wash with no harsh edges. Then apply the same tone to the apples of the cheeks for perfect harmony. Cream formulas work beautifully for both areas and blend seamlessly into skin. Keep the pink soft and fresh — bubblegum reads costume, while dusty blush-pink reads chic and expensive.
This flatters fair to medium skin tones most naturally, though deeper skin can wear richer rose tones the same way. It is perfect for spring, daytime events, and romantic occasions of all kinds. Blue eyes look especially fresh and bright against the pink tones. The monochromatic effect looks modern in photos and effortlessly pretty in person.
Finish with glossy lips in a matching pink and plenty of mascara — the lashes keep the pink from reading sleepy or tired. Skip heavy contour; the look is soft and fresh all over by design. This is the easiest trend look a beginner can absolutely nail on the first try.
Save these foolproof looks to practice this week — and keep building your skills with our one-shadow eyeshadow looks and contour tips for beginners.